Dollhouse - Main Structure
When I was a young child, first learning to read, my granddad made some miniature books out of wood as a joke that they were light reading material. He made a few of them, then decided they needed a miniature chair and table to go with them. A few years later he had made a legion of hand-carved wooden dollhouse furniture. By the time he had finished the collection, I was in middle school and had outgrown dolls and given away my dollhouse.
Though not as busy at playing with dolls anymore, I still admired the miniatures and felt this handmade furniture deserved a handmade home. While on a visit to my granddad’s, I documented all of the furniture and began drafting plans to build a custom dollhouse for it.
I drew concept art, made blueprints, and bought the starting materials. The first step was cutting out holes for the windows. I got through a few before developing blisters all over my hands. I took a break to heal which ended up lasting six years. This Summer, I stumbled across my plans for it and decided to go back and finally complete it, now with more skills and strength.
The Plan
In 2021 when I first started planning, it was recommended I repurpose a bookshelf to display the furniture. While this would have been quicker, I wanted the house to be as customized as the furniture. I didn’t want to just have solid walls between the rooms. I wanted actual doors, stairs, and windows. I wanted the layout to make sense and for each room to be sized according to the amount of furniture I had to put in it. After categorizing the furniture, I found I needed eleven rooms for the house: a living room, workshop, kitchen/dining room, bathroom, kids room, den, guest room, master bedroom, library, a gallery, and an attic.
After measuring the space where the dollhouse would be, I came up with a plan that fits snugly and has enough room for what I want. It is a four story dollhouse, with an attic and a sloped roof on top. The interior measures 30" across and 12" deep. This was the plan I had already bought the wood for, so I worked off of it, though I switched the rooms and staircase locations a bit.
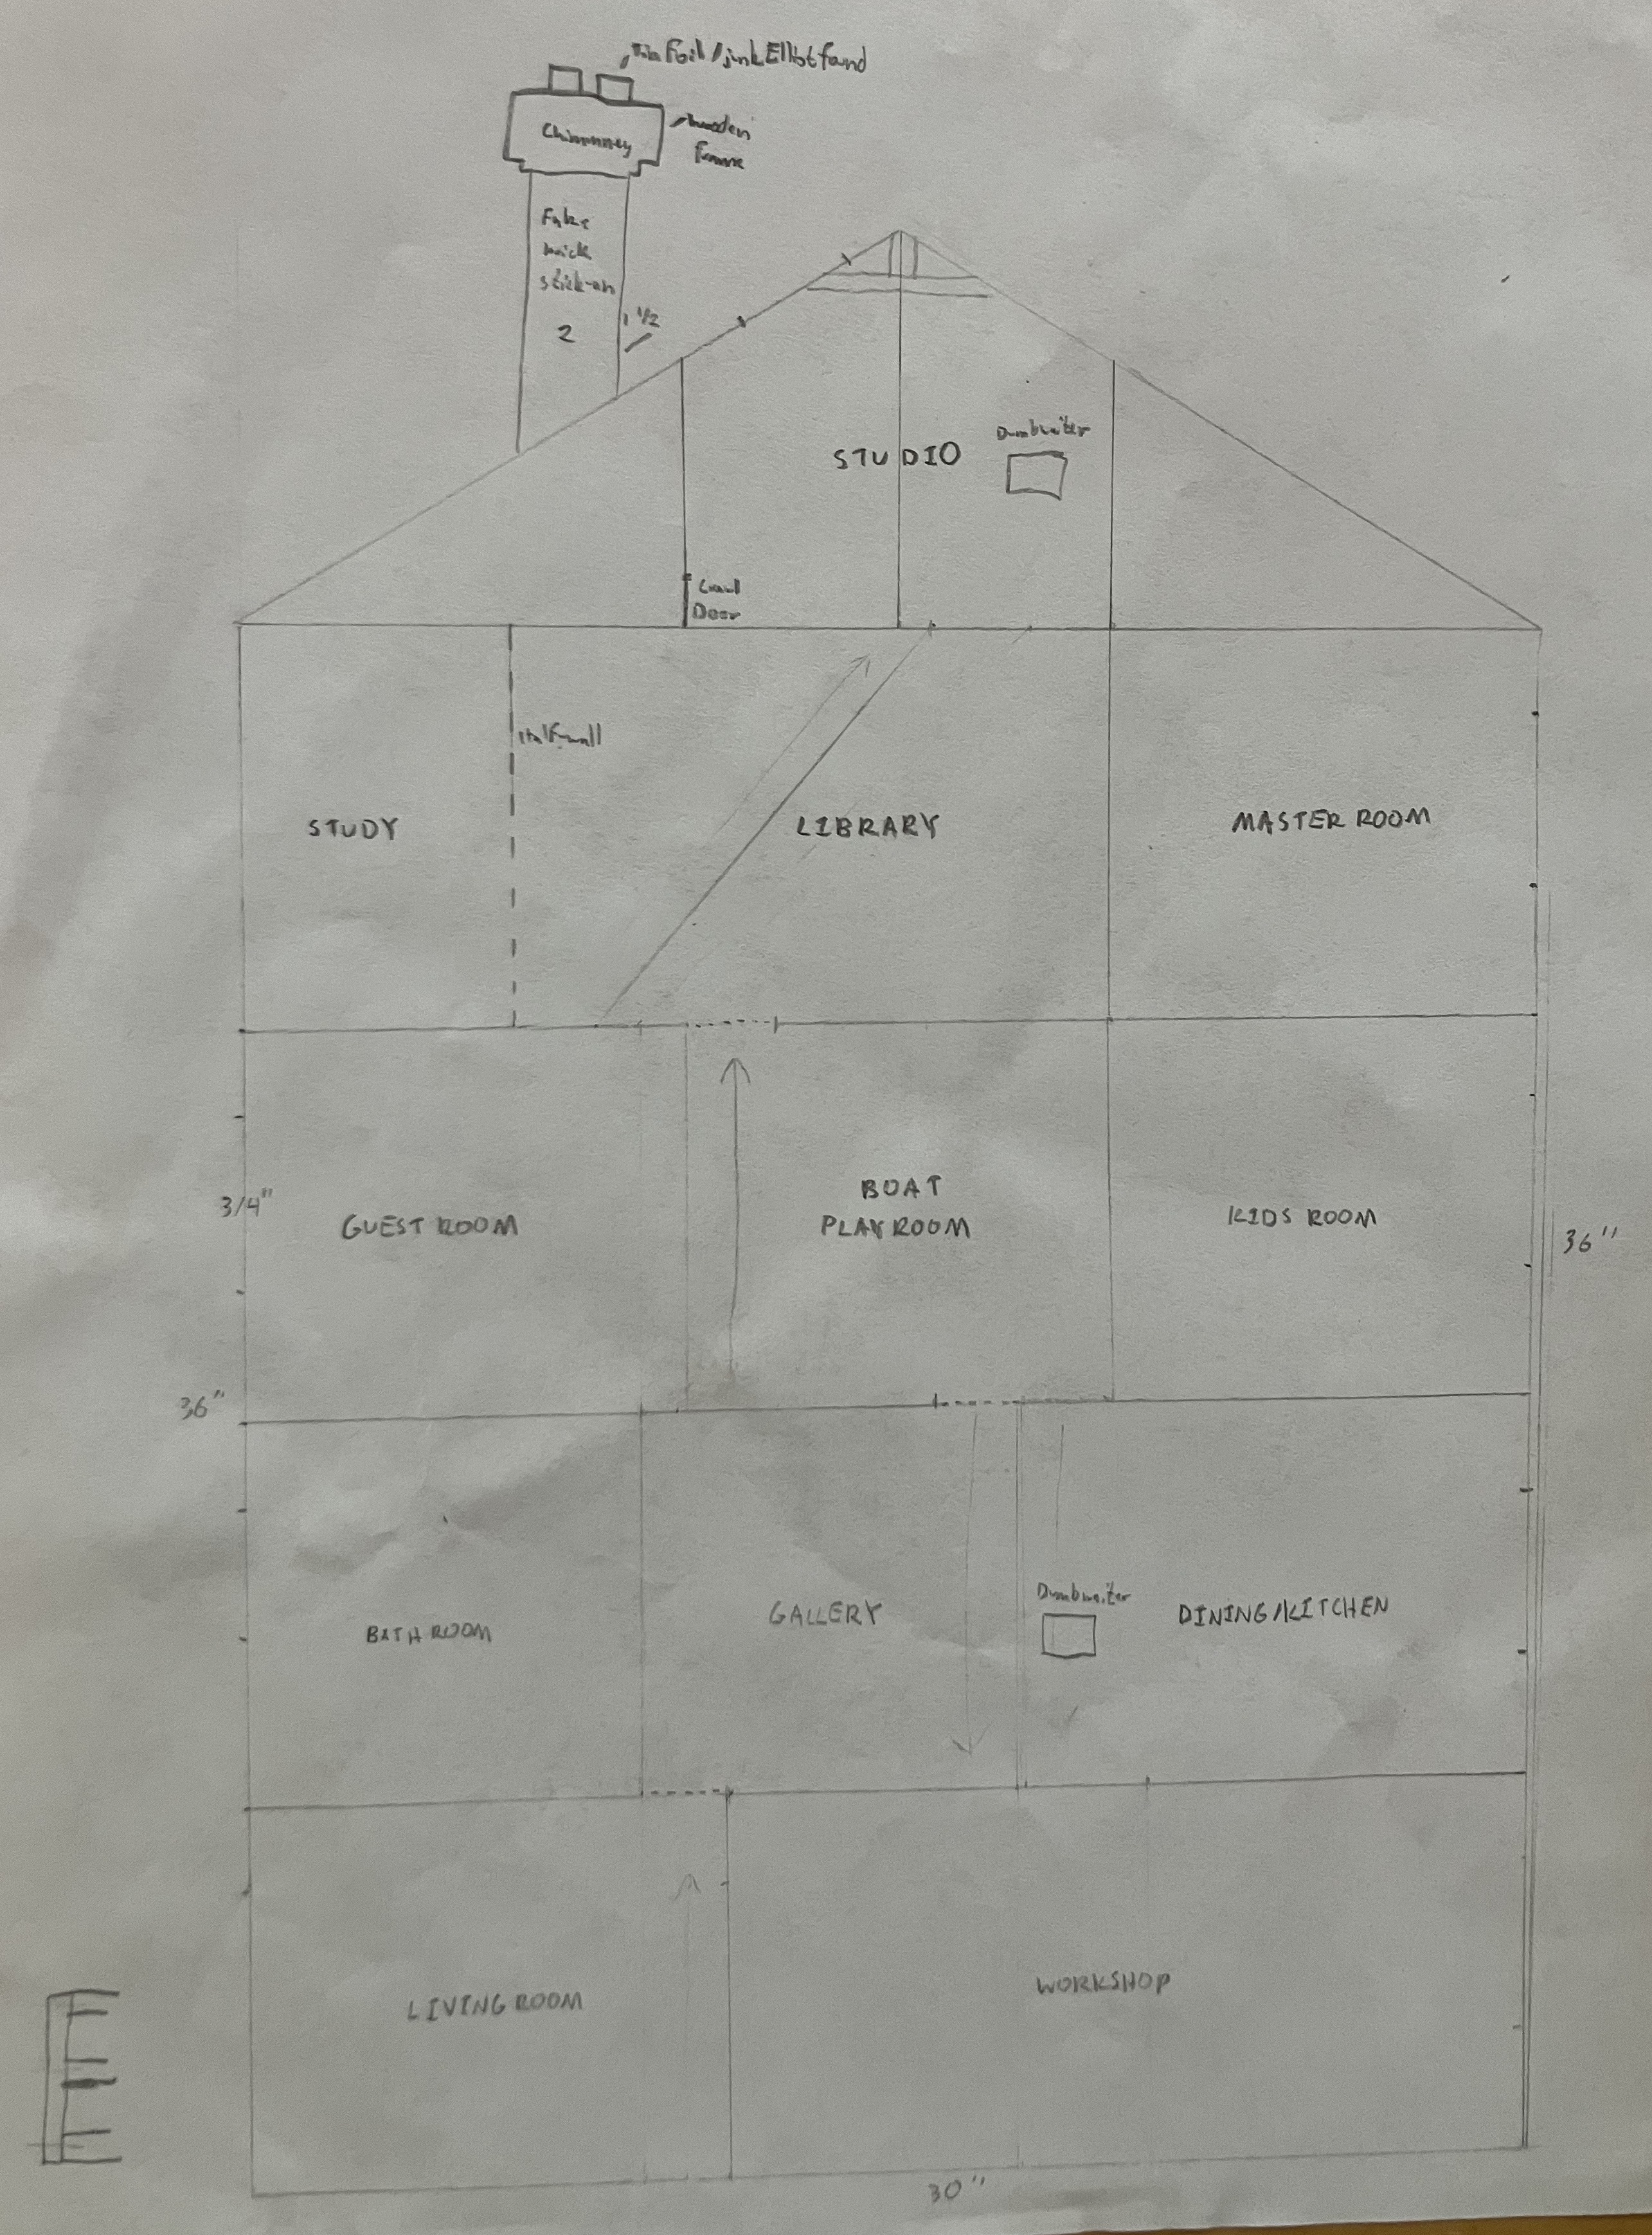
This is a large dollhouse and feels larger when you start digging into how many details and features I wanted it to have, most of which were scribbled on sticky notes haphazardly stuck to the folder the plans were in. I only had a few months at home to work on it and I could immediately tell there was no way to finish it all without rushing and being sloppy. I changed my goal from completion to a usable state. I wanted it to be good enough to bring out of the workshop and be recognizable as a dollhouse. This would mean creating all six exterior walls, separating the stories and rooms within, and installing the windows and stairs. The only special features I would have to worry about for this goal was the corner staircase on the first floor, a half-sized window for the bathroom, and a display case for the front of the doll house.
The Build
I went to the wood pile to try and find the wall I had started on. Upon seeing the scraggly cuts, memories returned of the hours it took to cut a single side and the pain of my hands the day after.
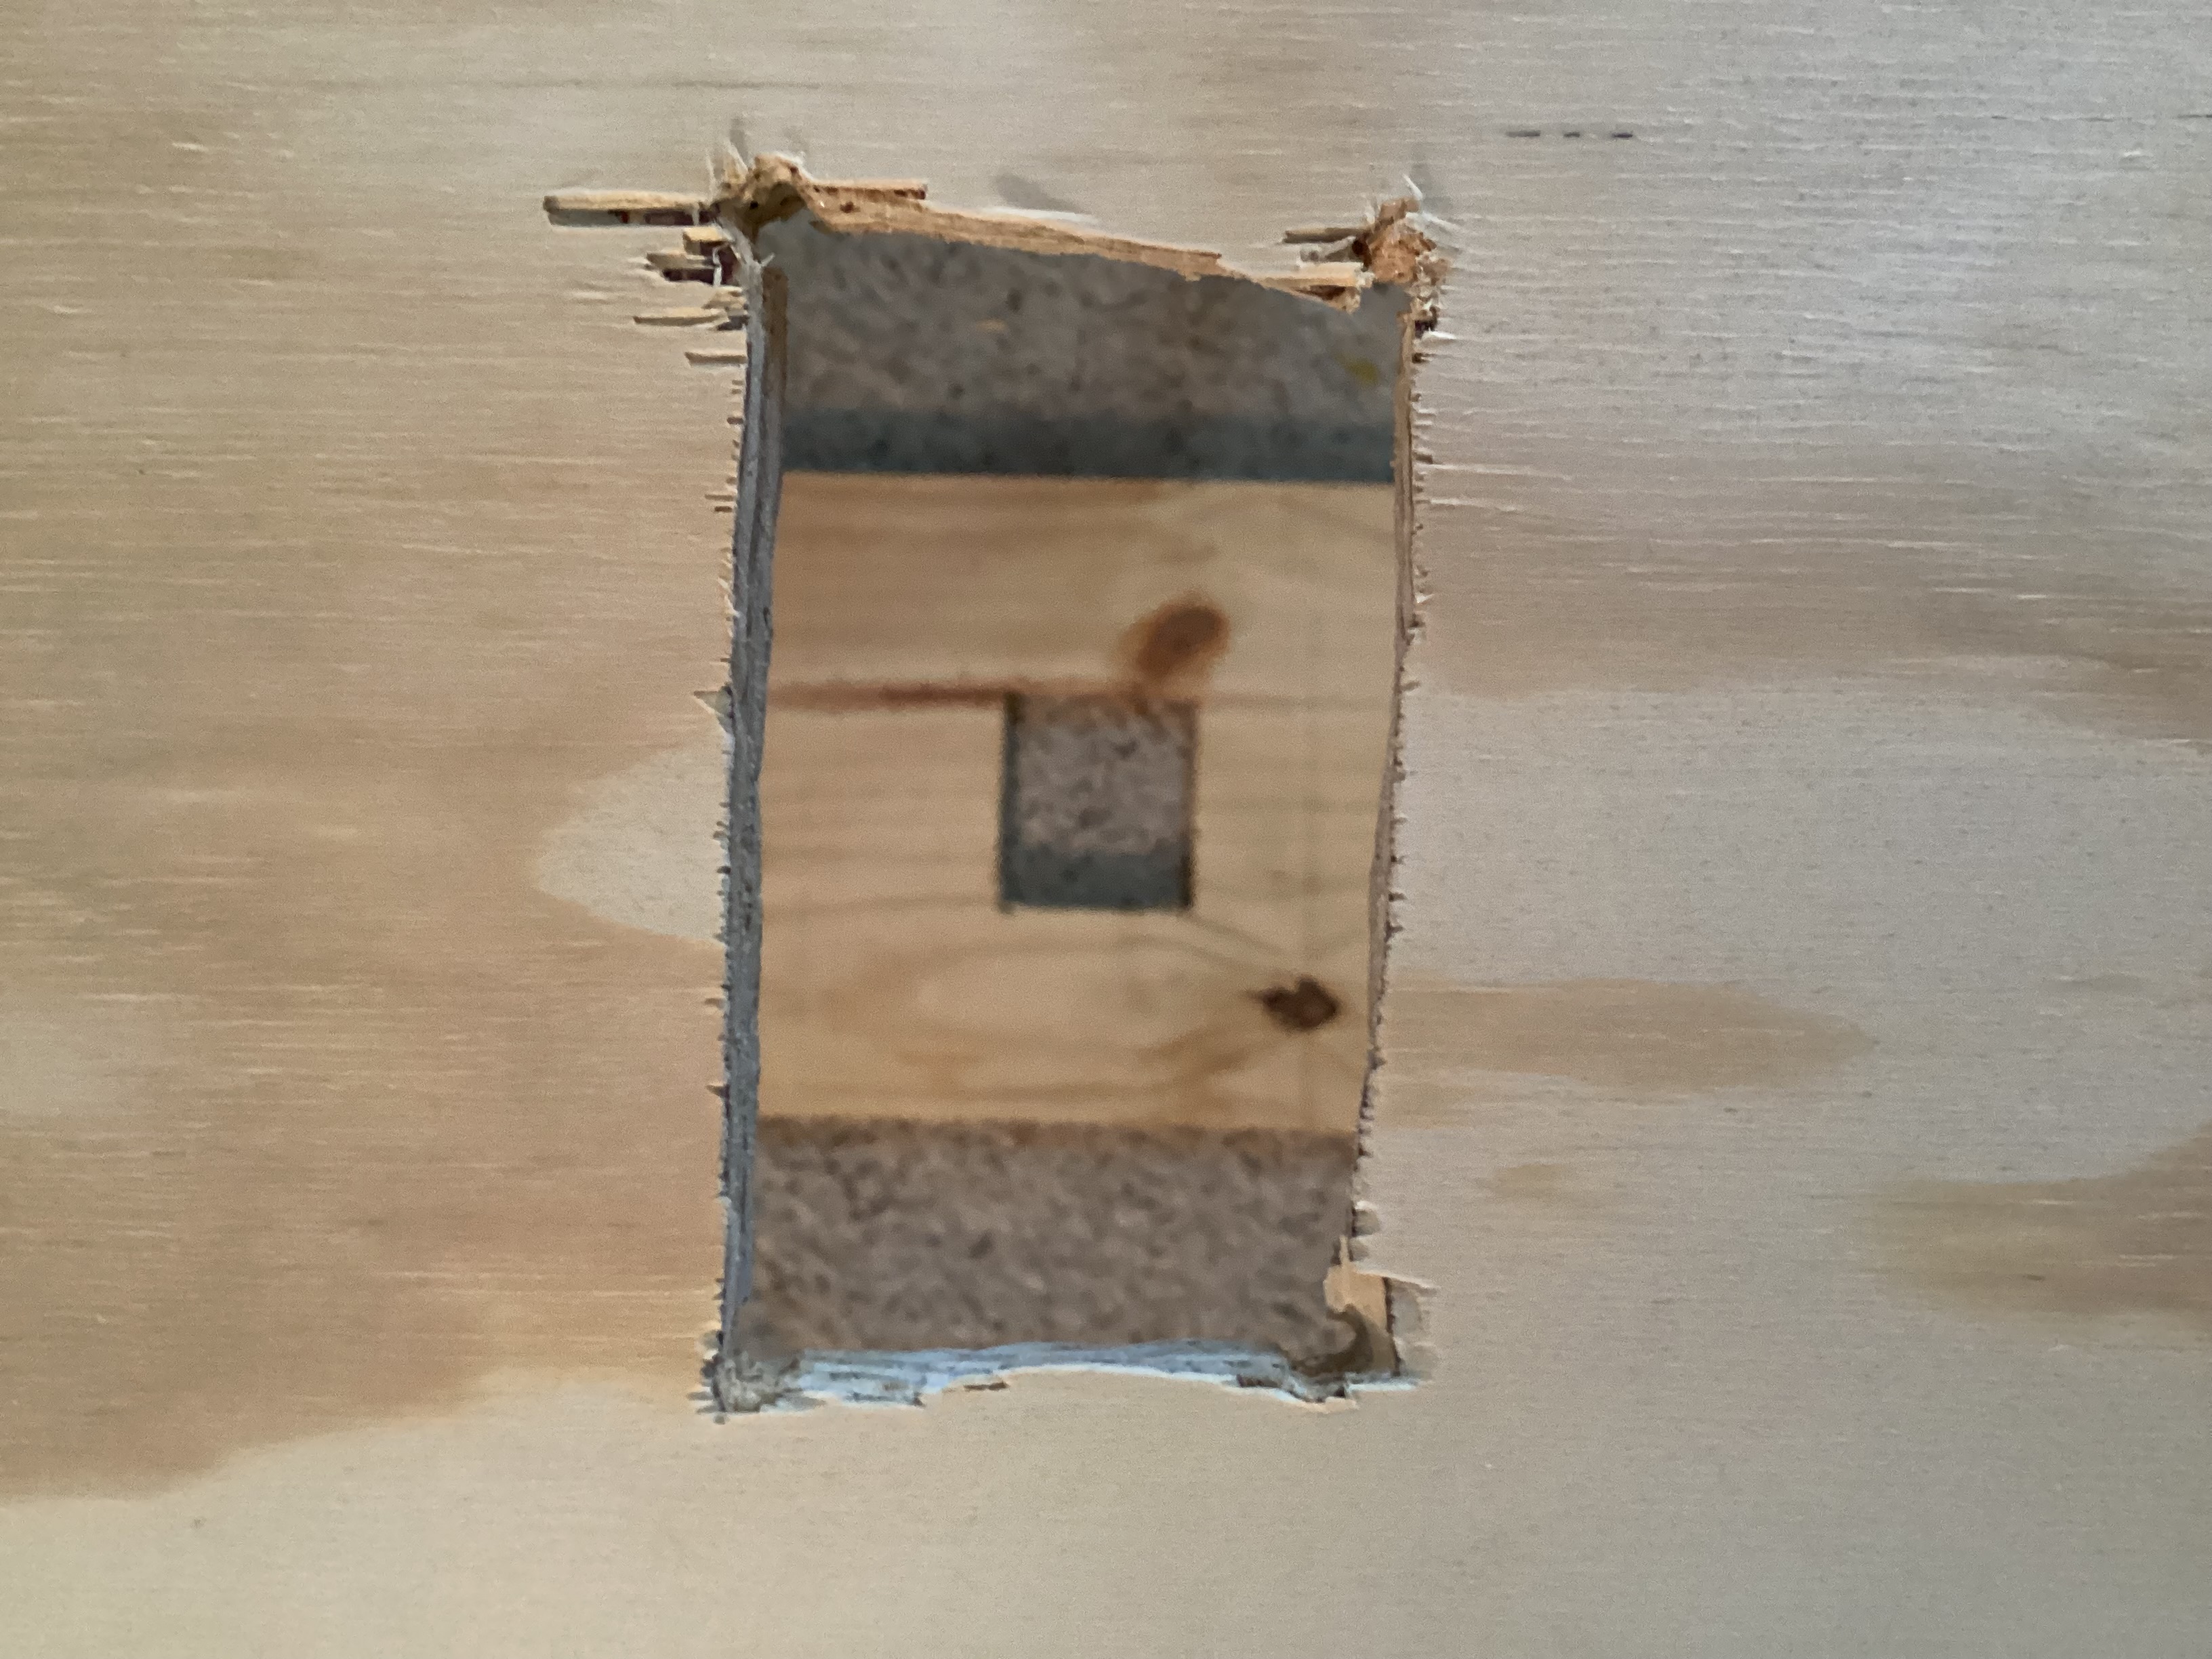
I assumed now that I had the strength of an adult over a thirteen-year-old, it would be much easier to cut into the wood, but I soon found saw strength had not been the issue. I had used a drywall saw to cut through a 3/4" board. How had I not noticed? How did I not think something was wrong? How had I cut as much as I did? After securing a proper wood saw, I finished the windows and cut holes for the stairs.
Speaking of, I started working on the stairs in my breaks from sawing. I conveniently had the plans for making them already and even had a prototype out of cardboard. The cardboard was a bit bulky, so I searched for a different material. I ended up finding a bunch of 2" by 3" stiff cardboard pieces for $10 which were intended as the backings of tiny books. I started with the simplest plan of cutting them into strips and hotglueing them together.
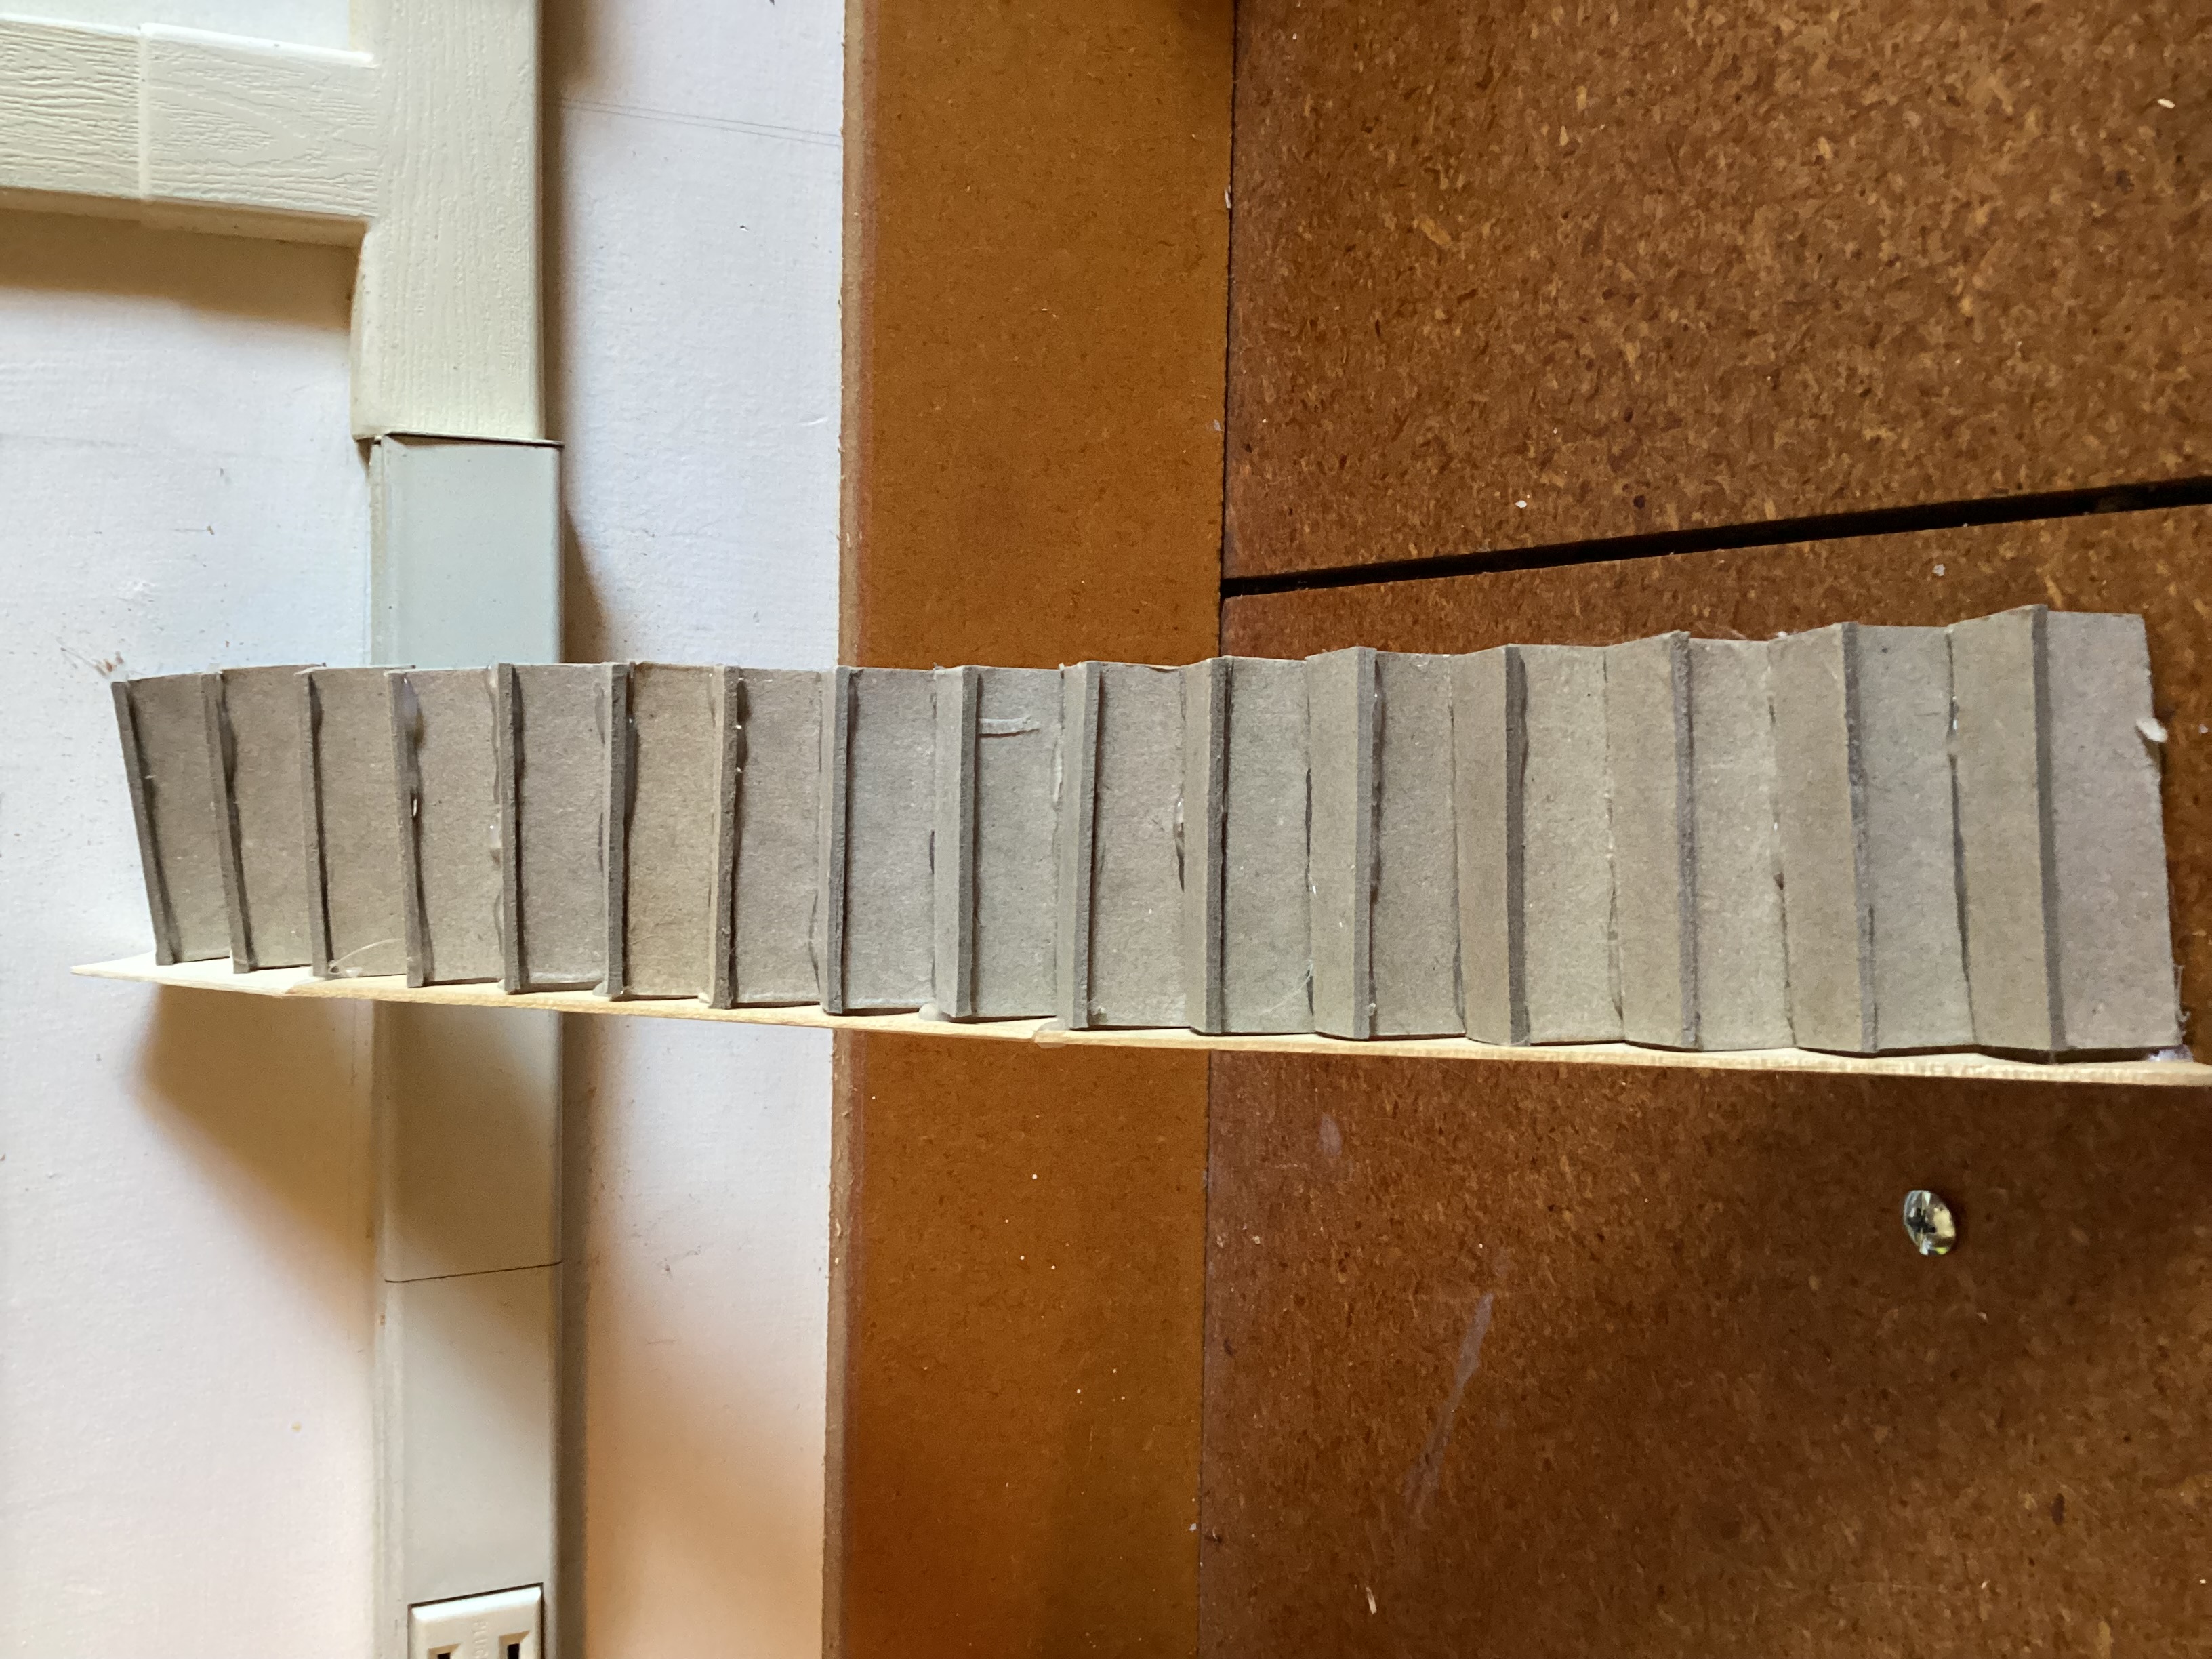
I am not so sure this is up to code. It was obvious I needed a template to make sure the staircase stayed straight. It dawned on me I could use a tool my old plans had not accounted for– a 3D printer. I designed both a jug and supports for the stairs. After a few steps, it was obvious the supports were superior so I made a set using them.
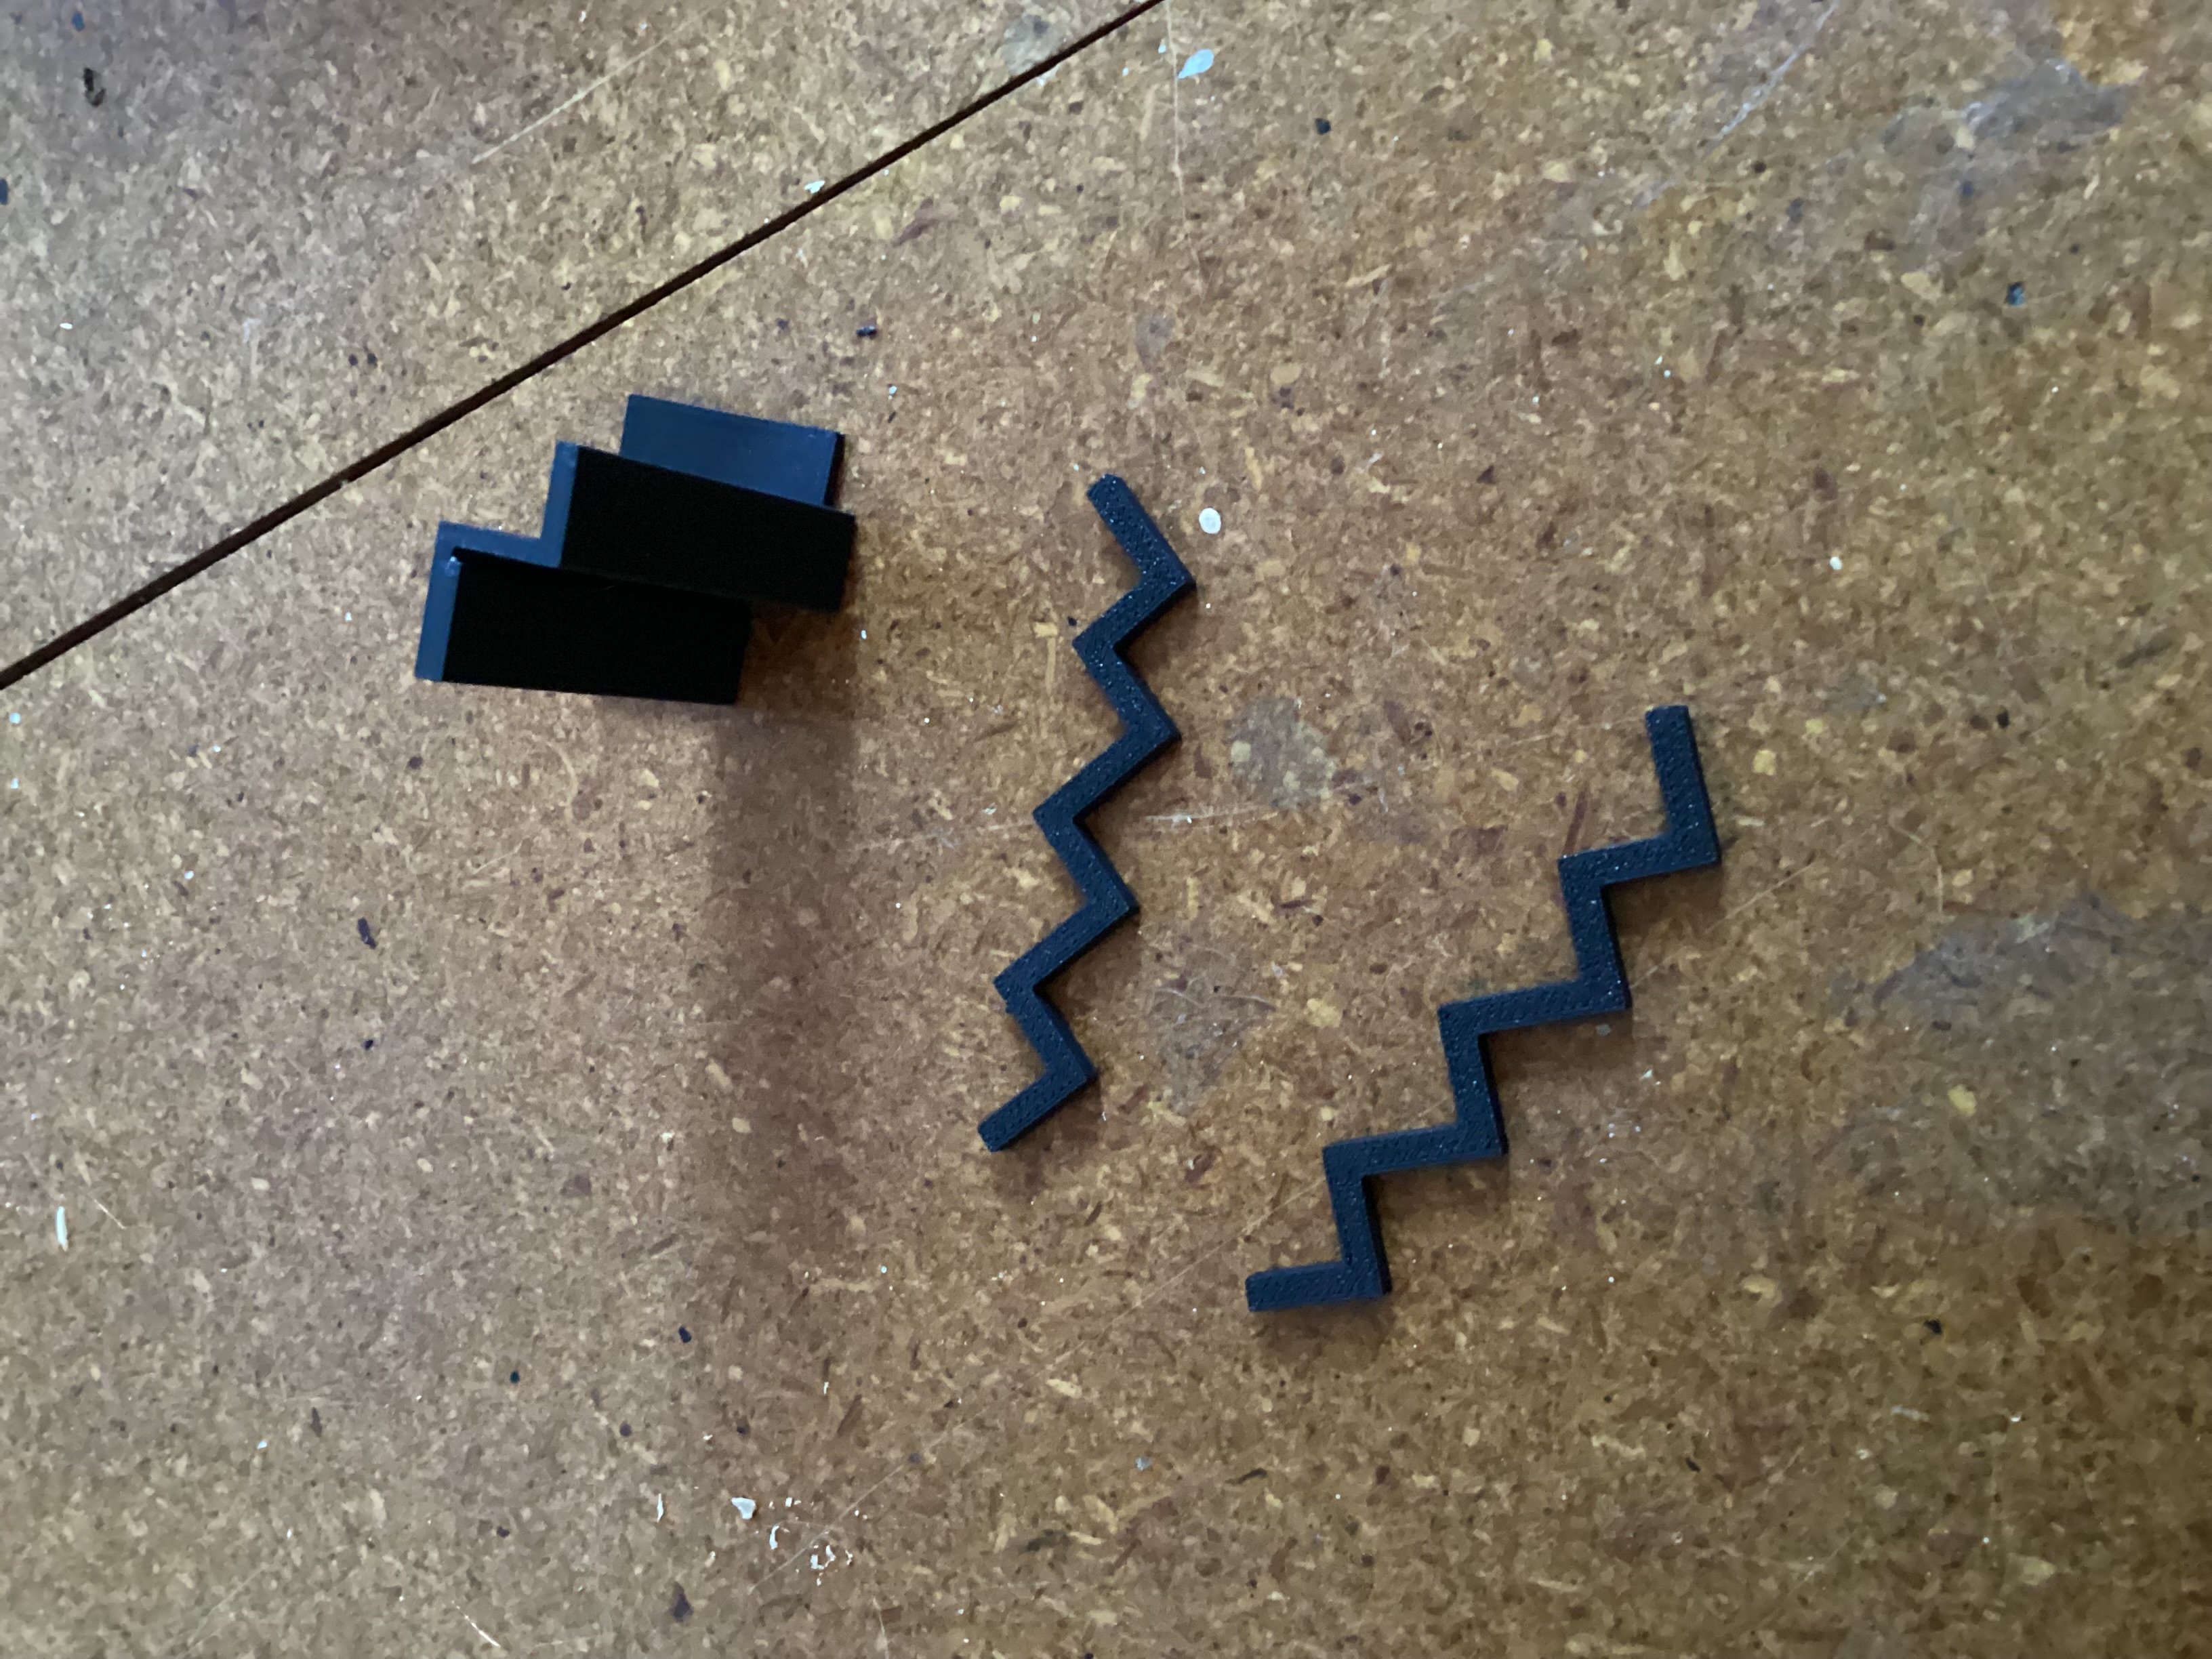
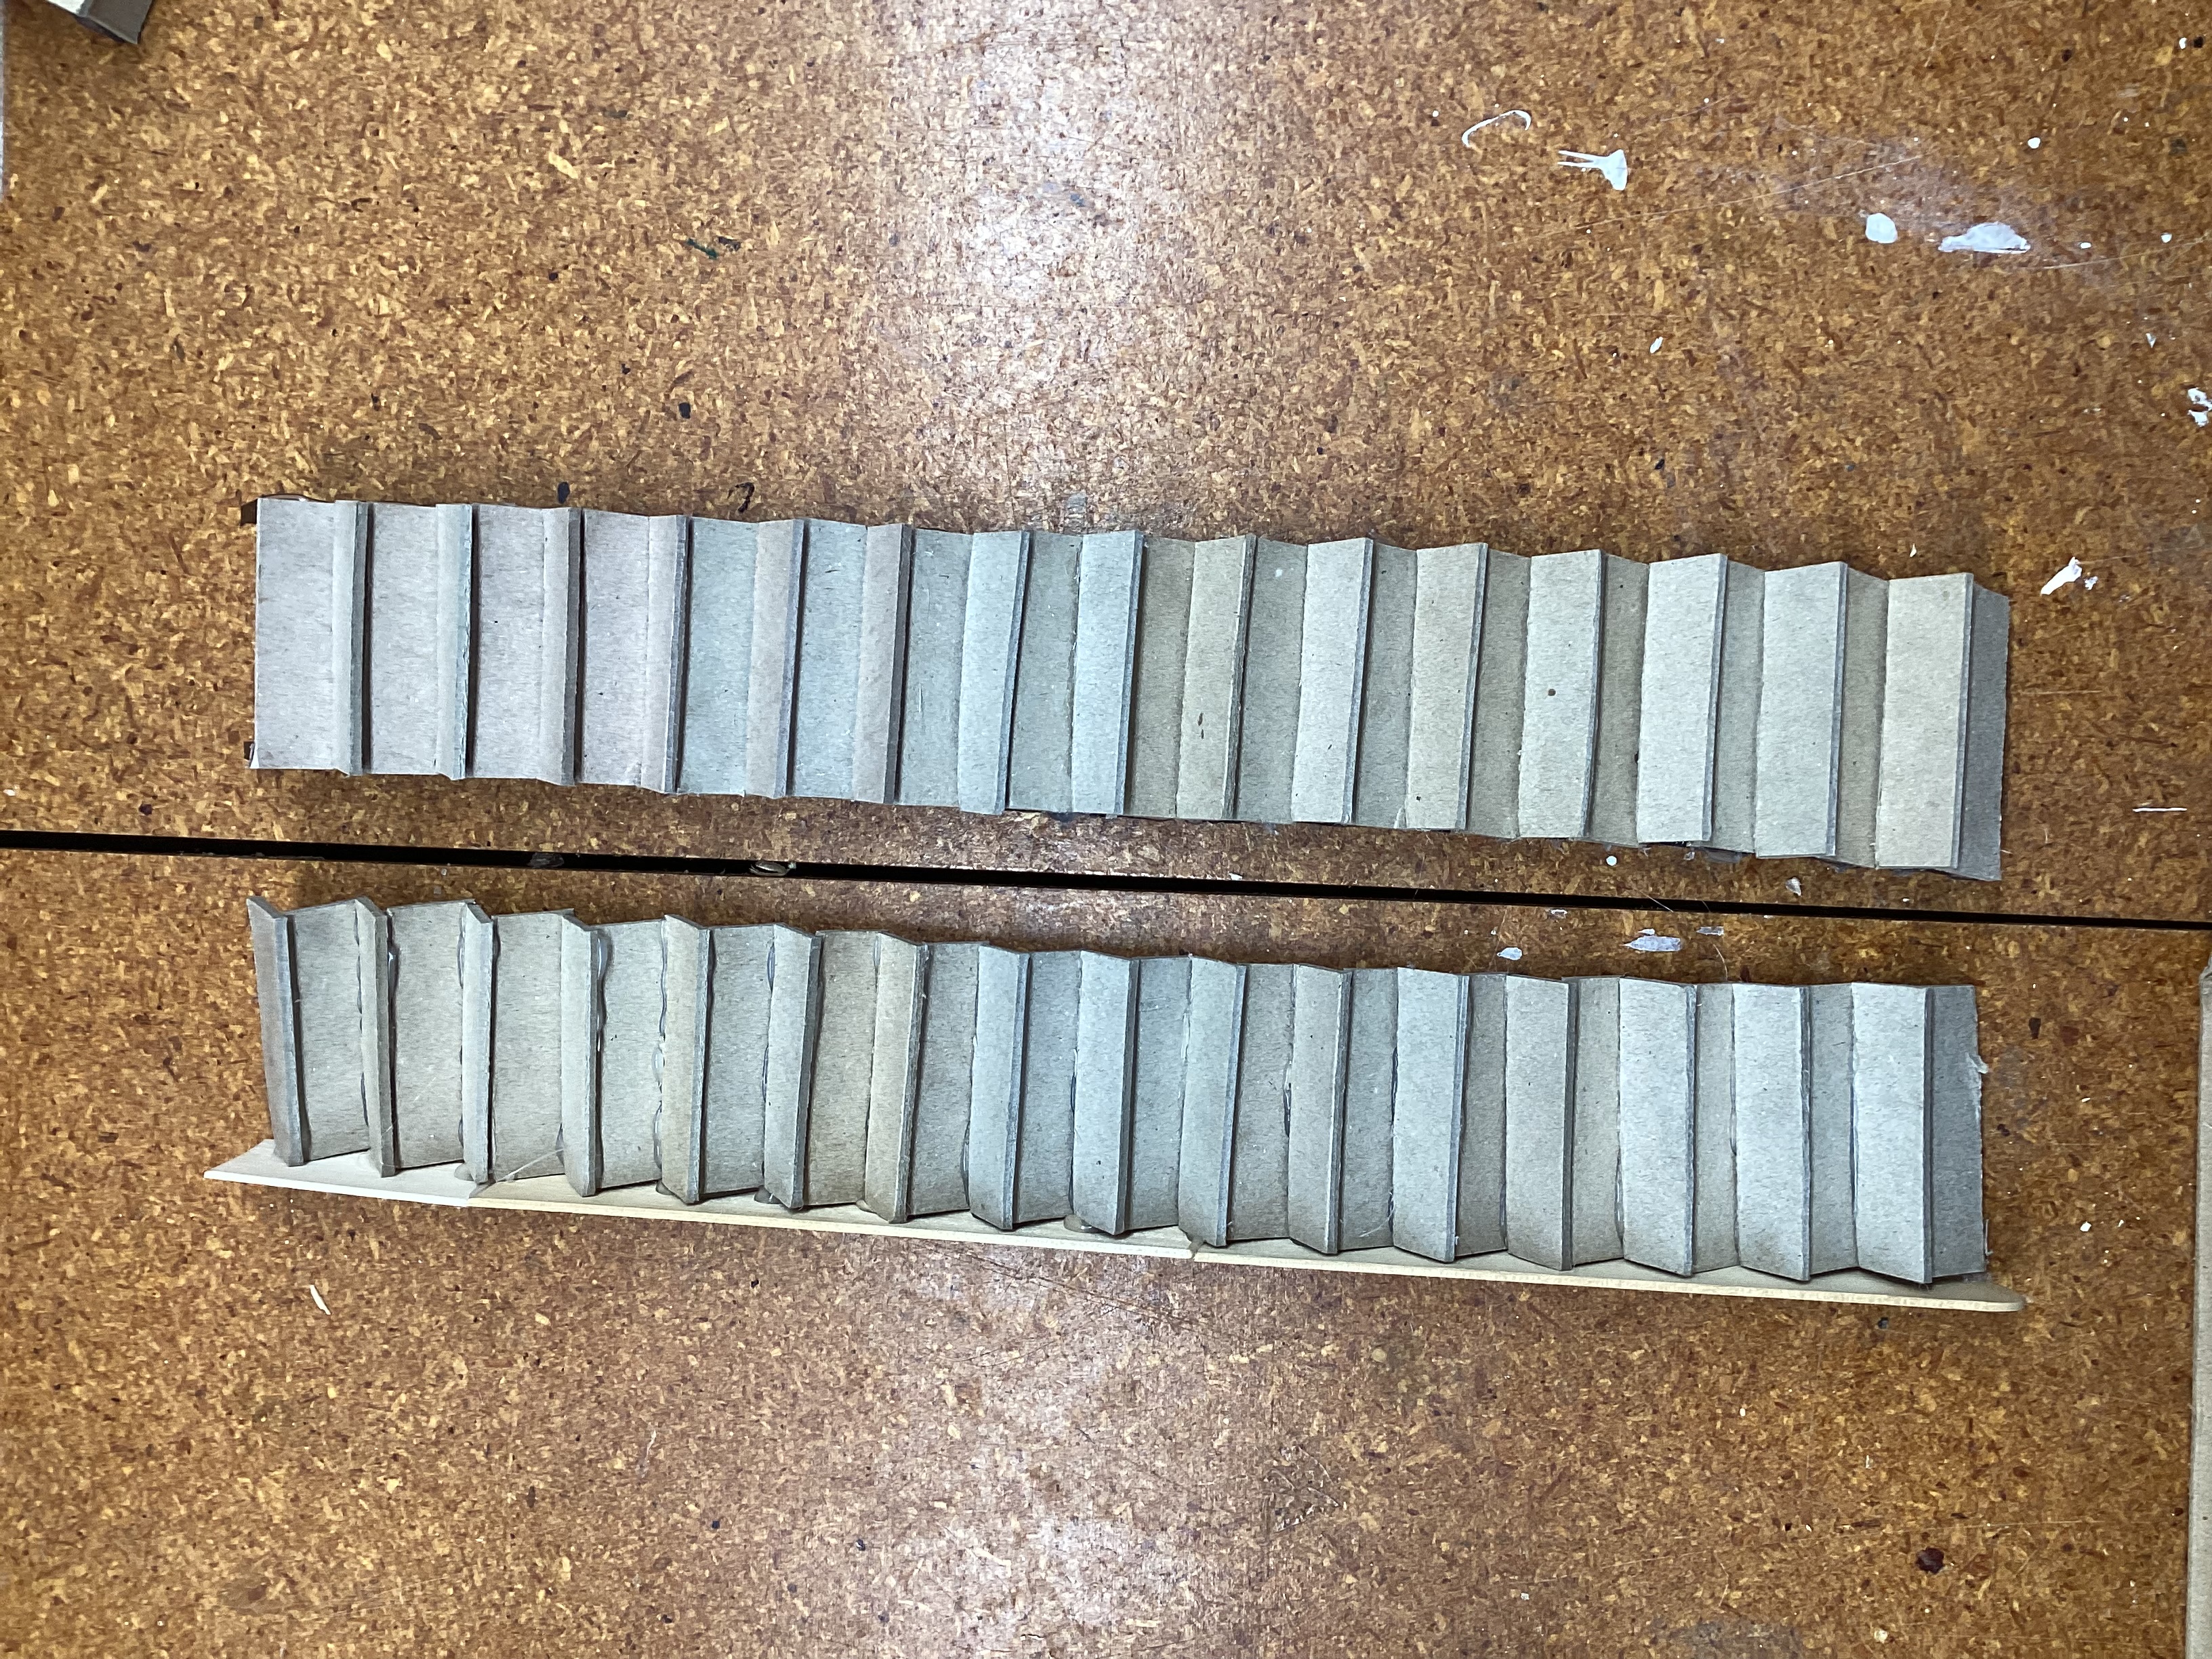
Technically, it’s still not up to code. It has to be at least 30" wide while this is only 24" when scaled and the slope is too steep. At least the steps aren’t contorted and feel more sturdy. I doubt a building inspector would show up to the residence anyway when there’s no front door.
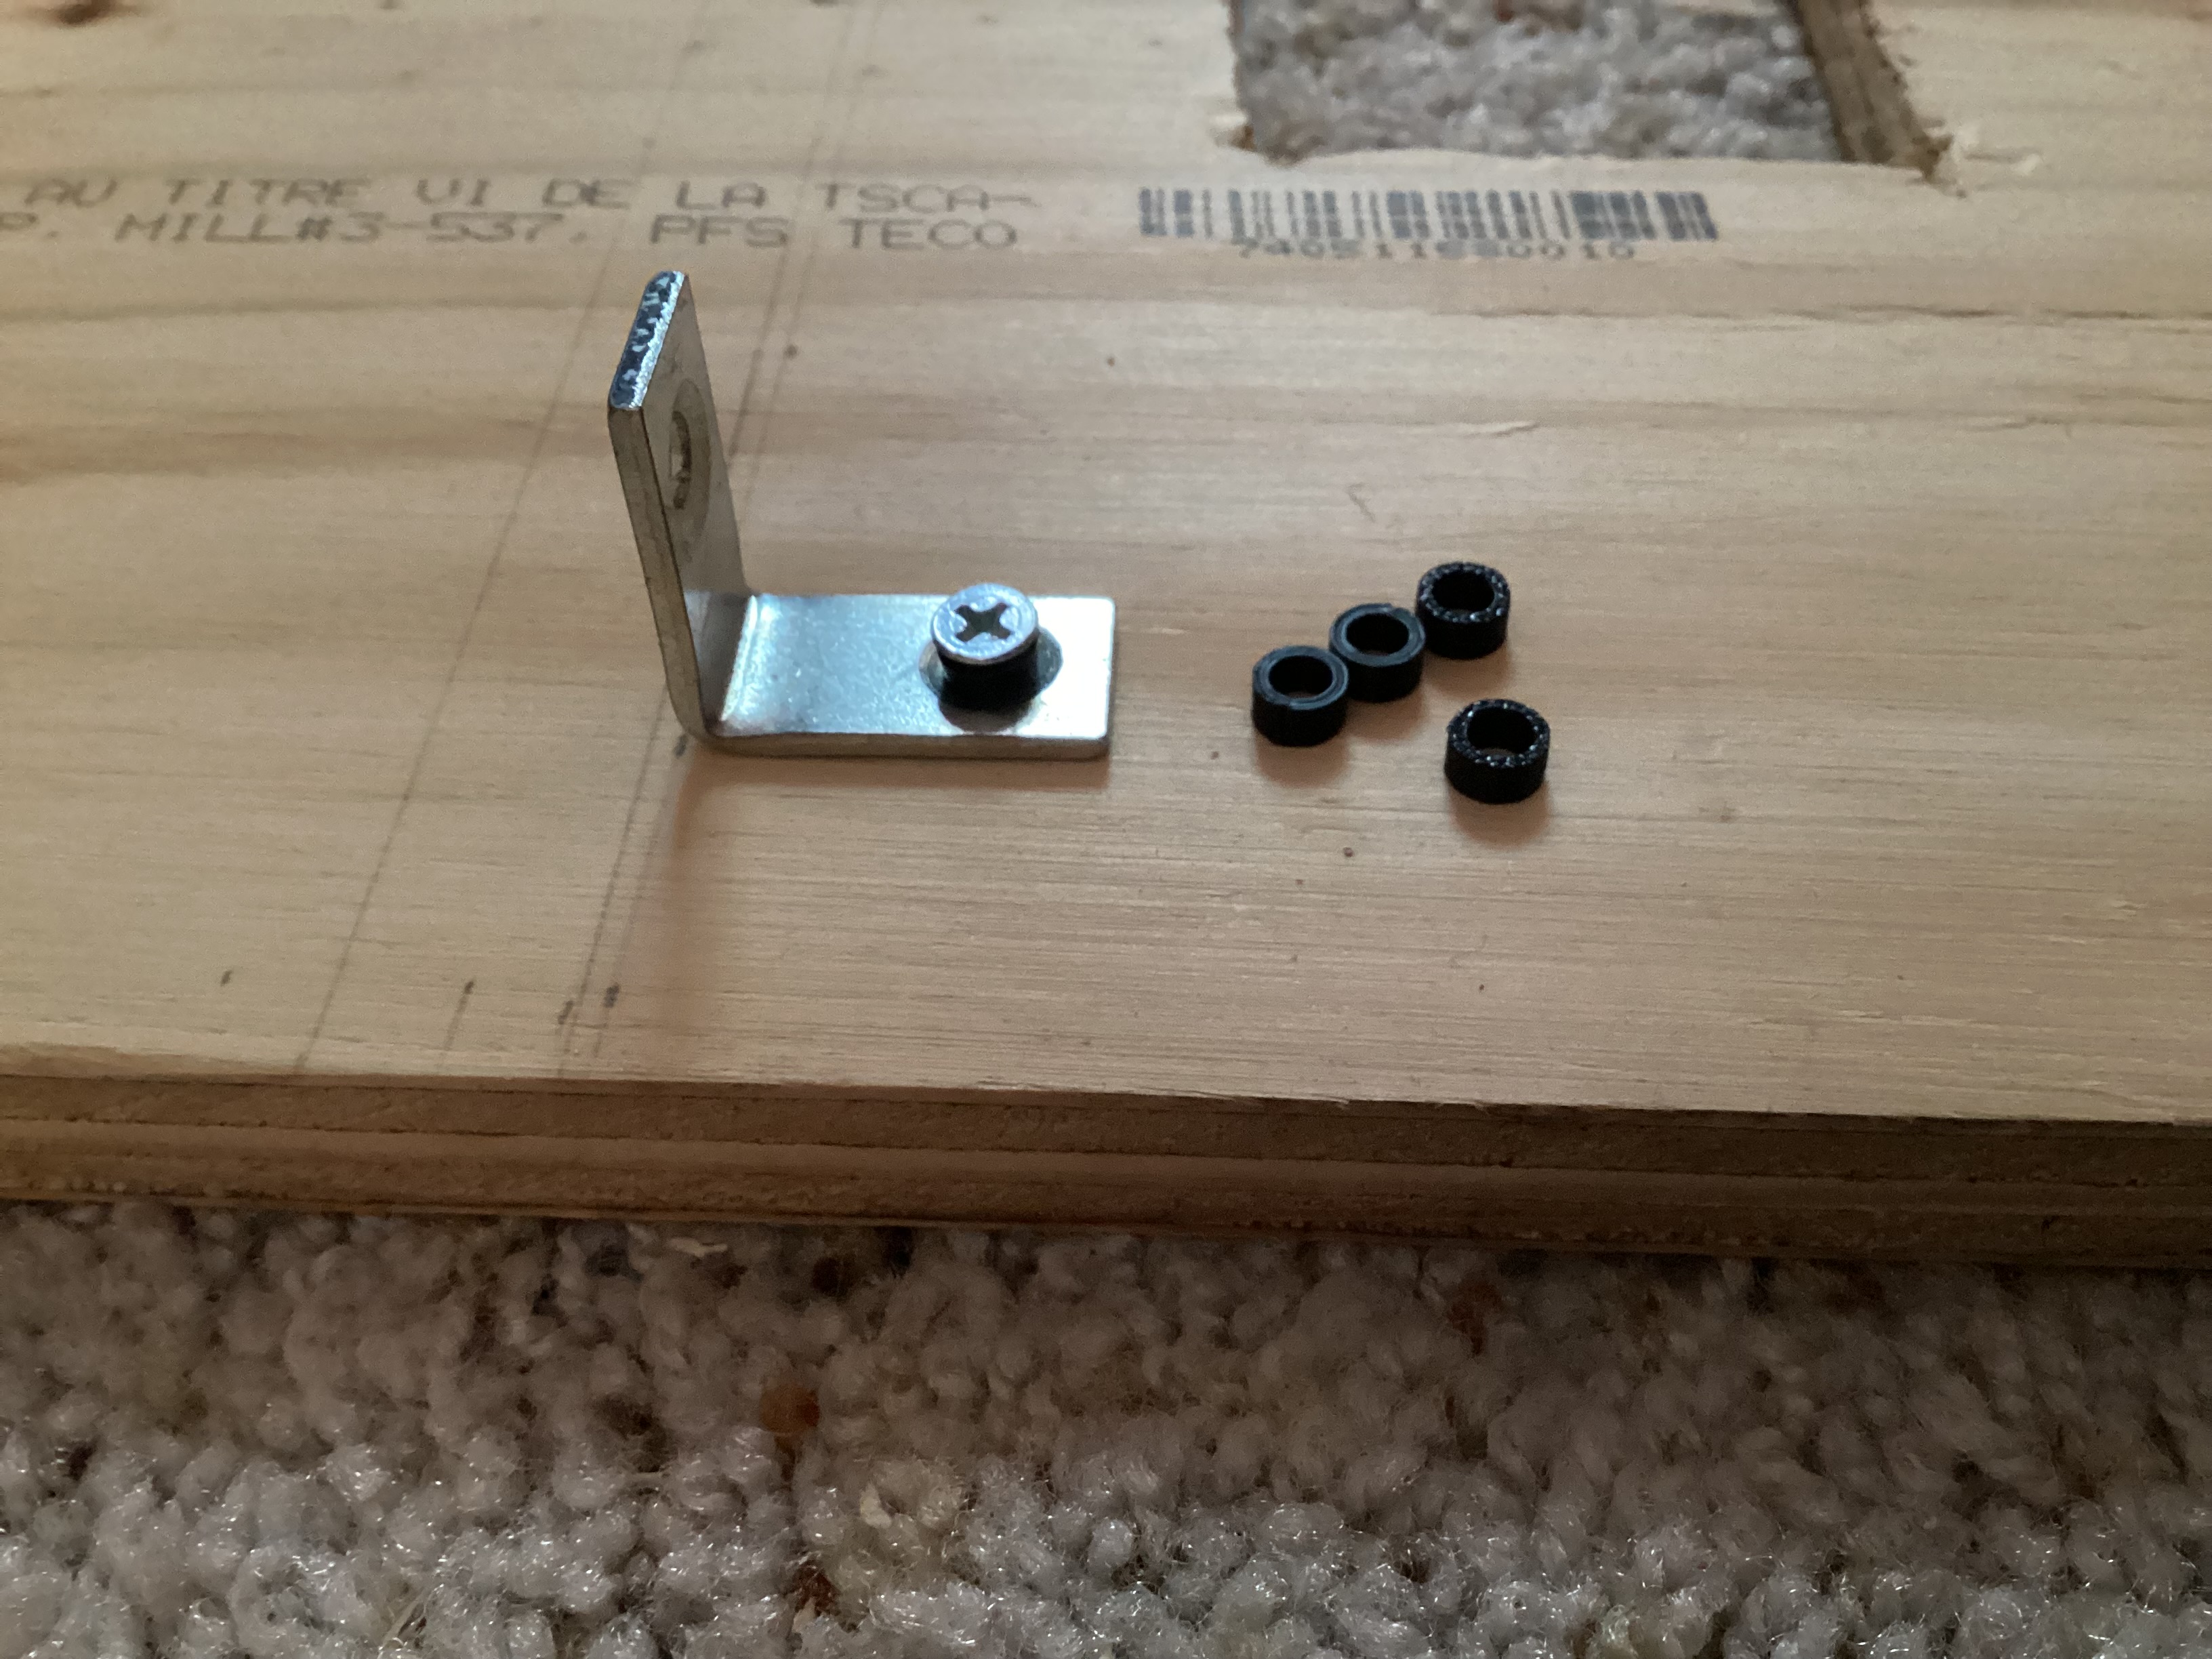
After making two more sets, I went back to working on the main frame of the house. Now that all the holes had been cut, I assembled the outer frame. I had bought angle brackets to support the middle floors, but the screws provided were a tad too long, so I printed up some spacers. I wish I had made printed brackets before buying metal ones since these are a bit more heavy-duty than I think I need.
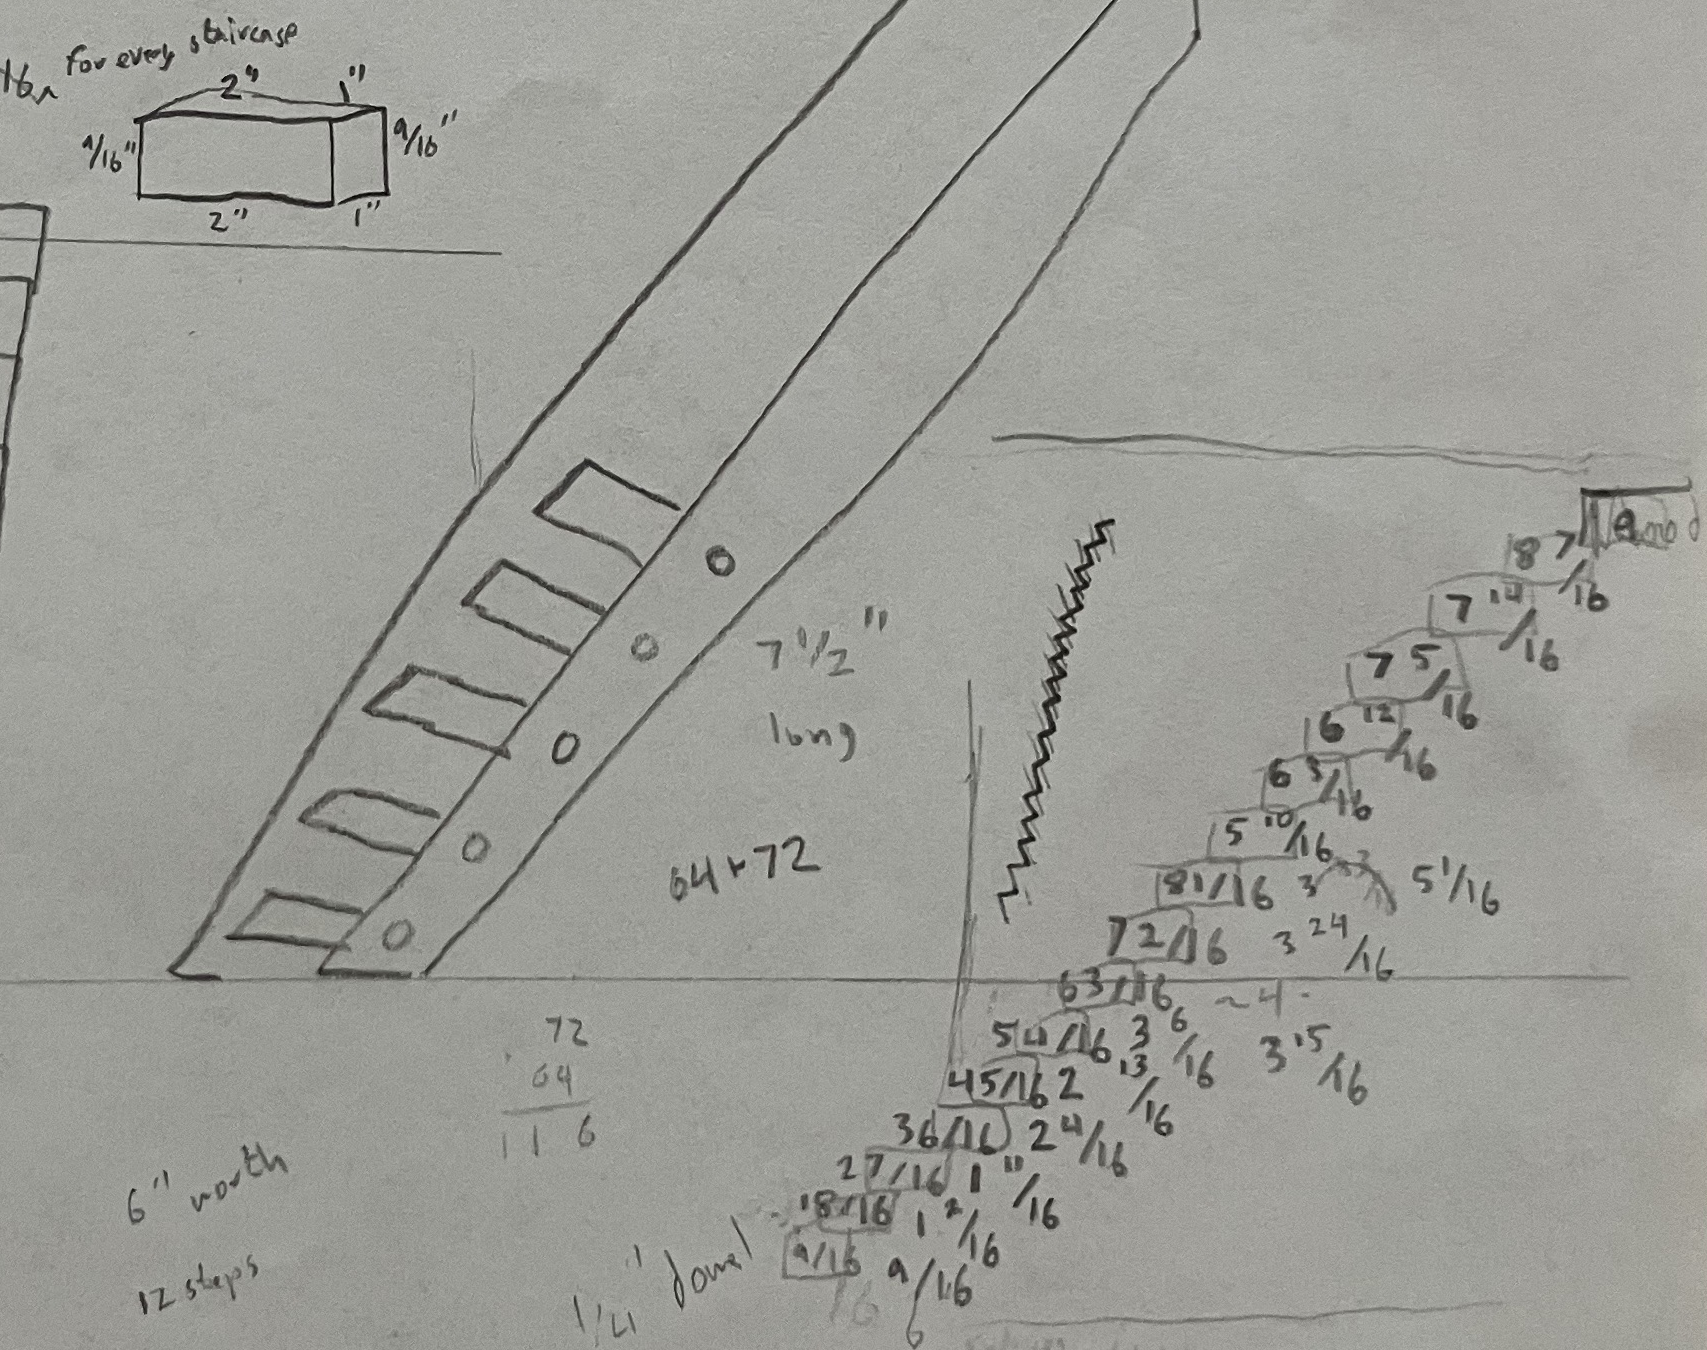
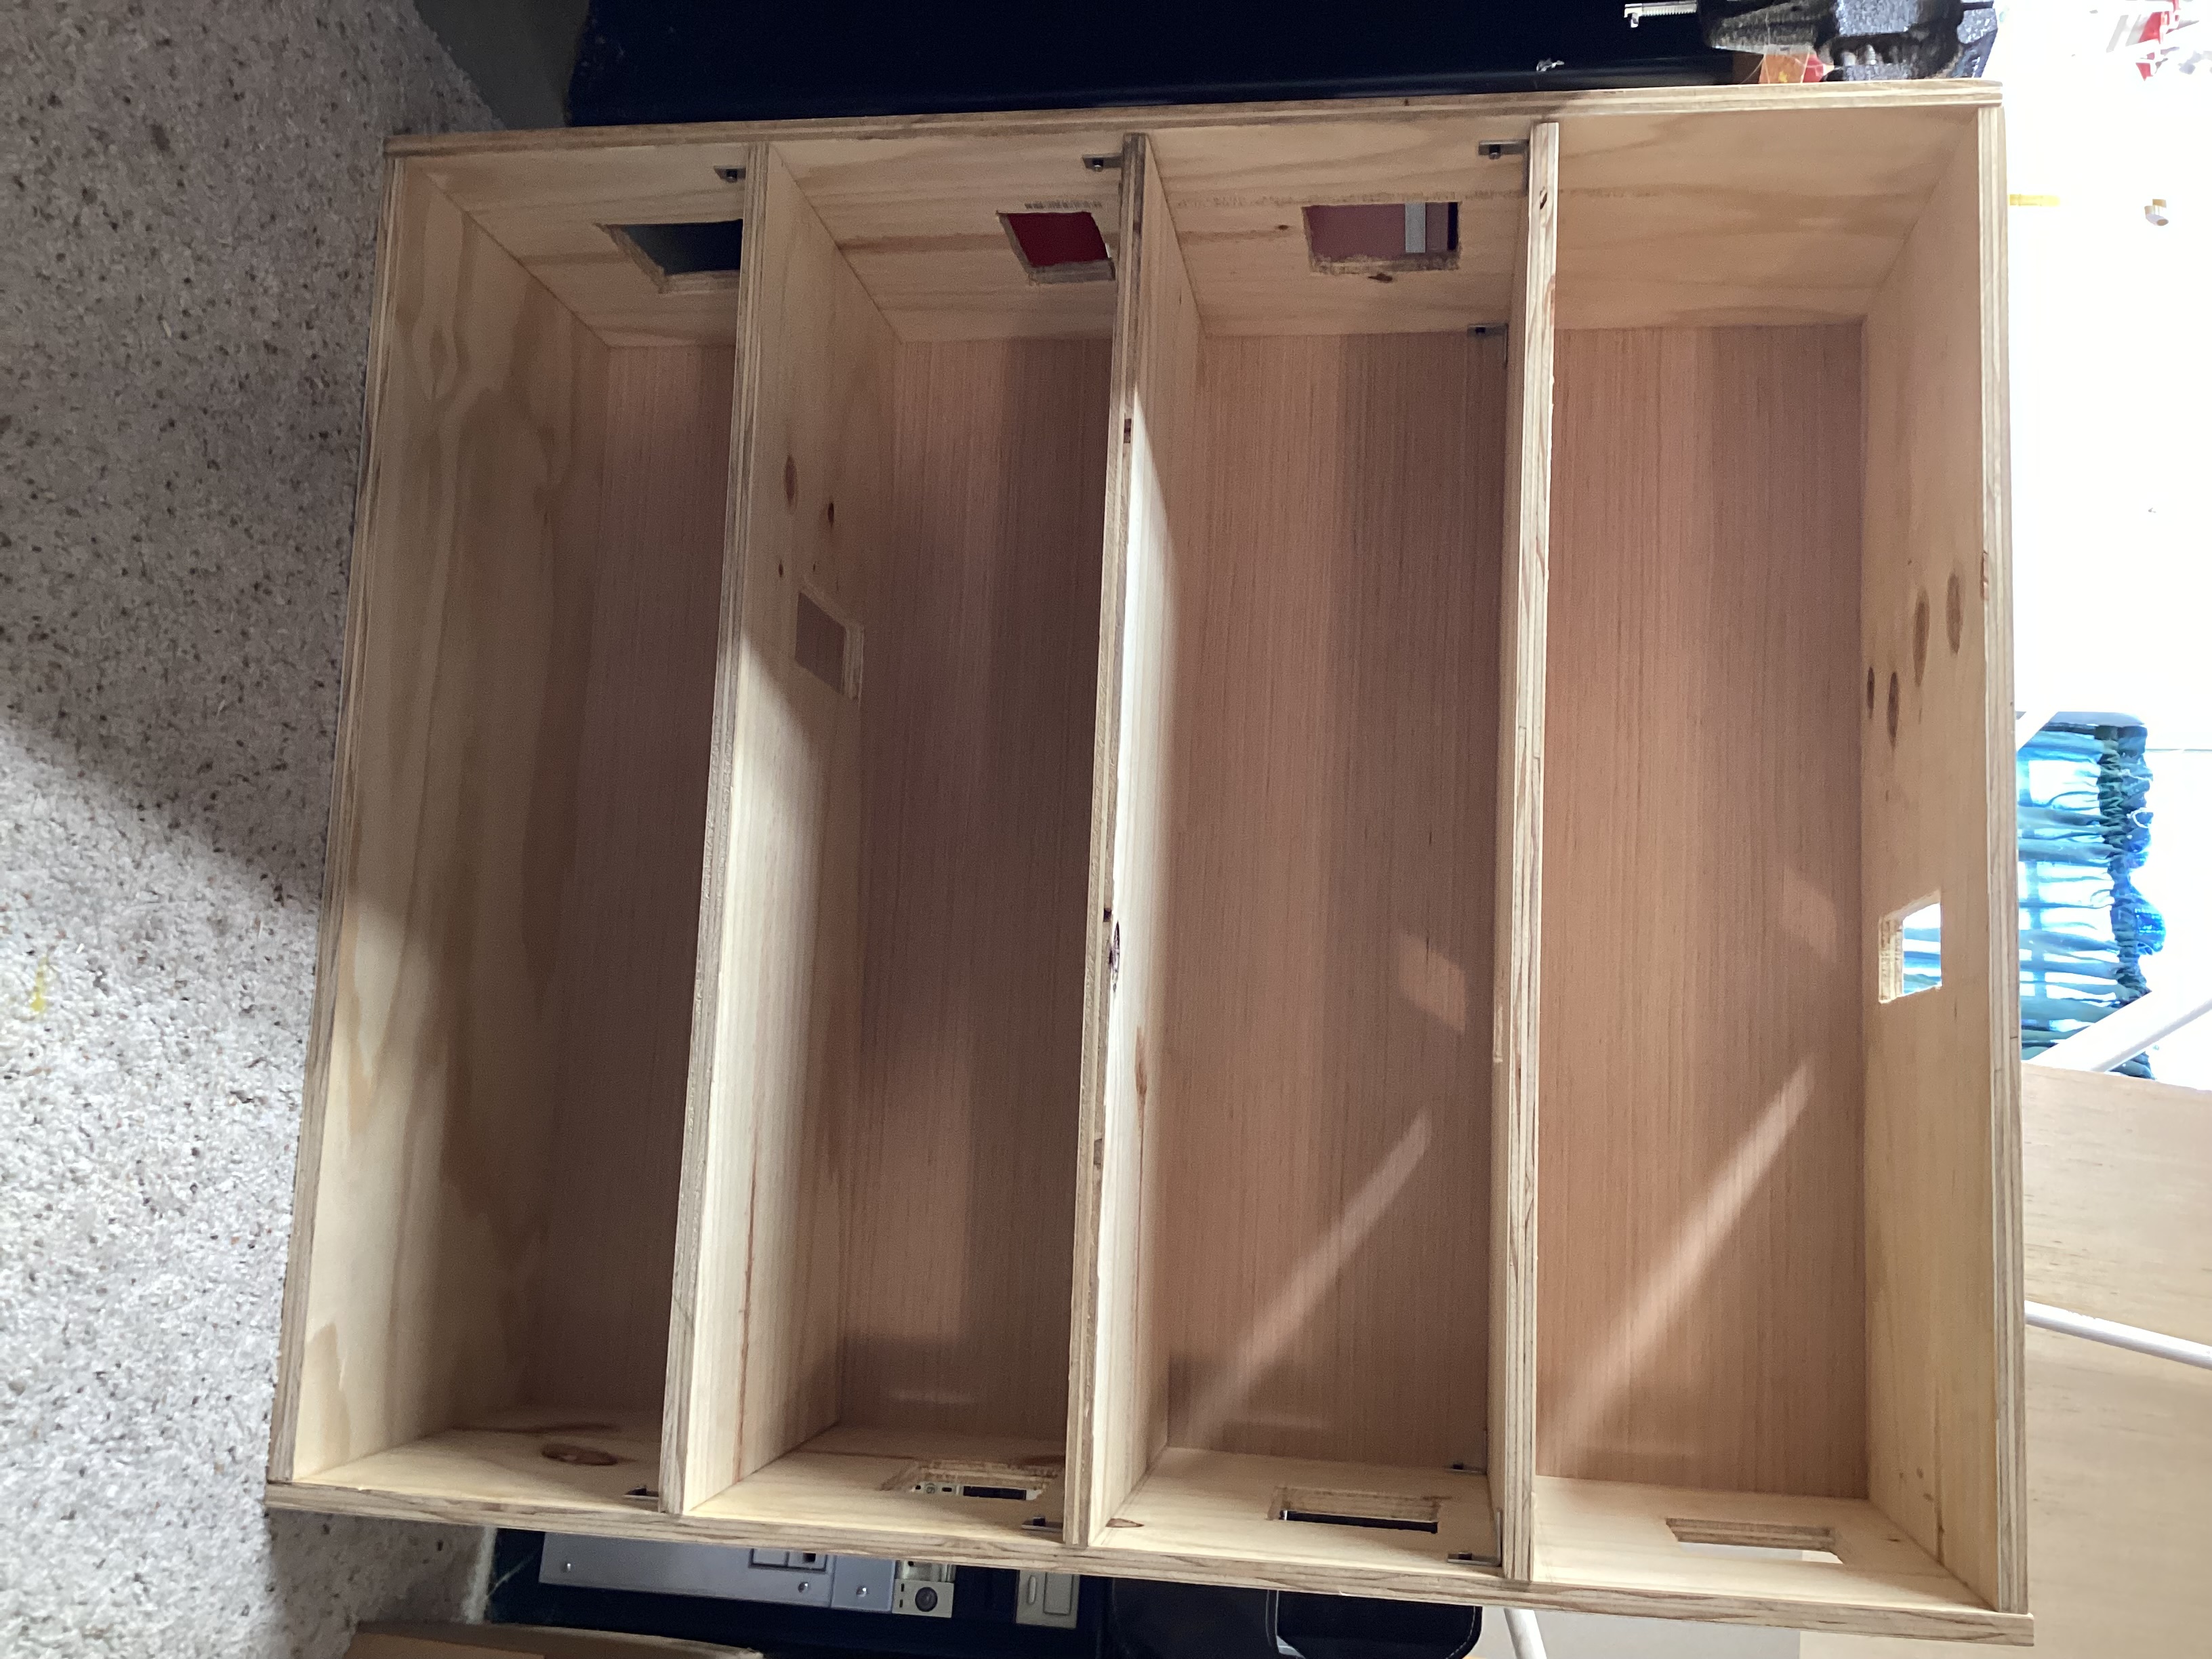
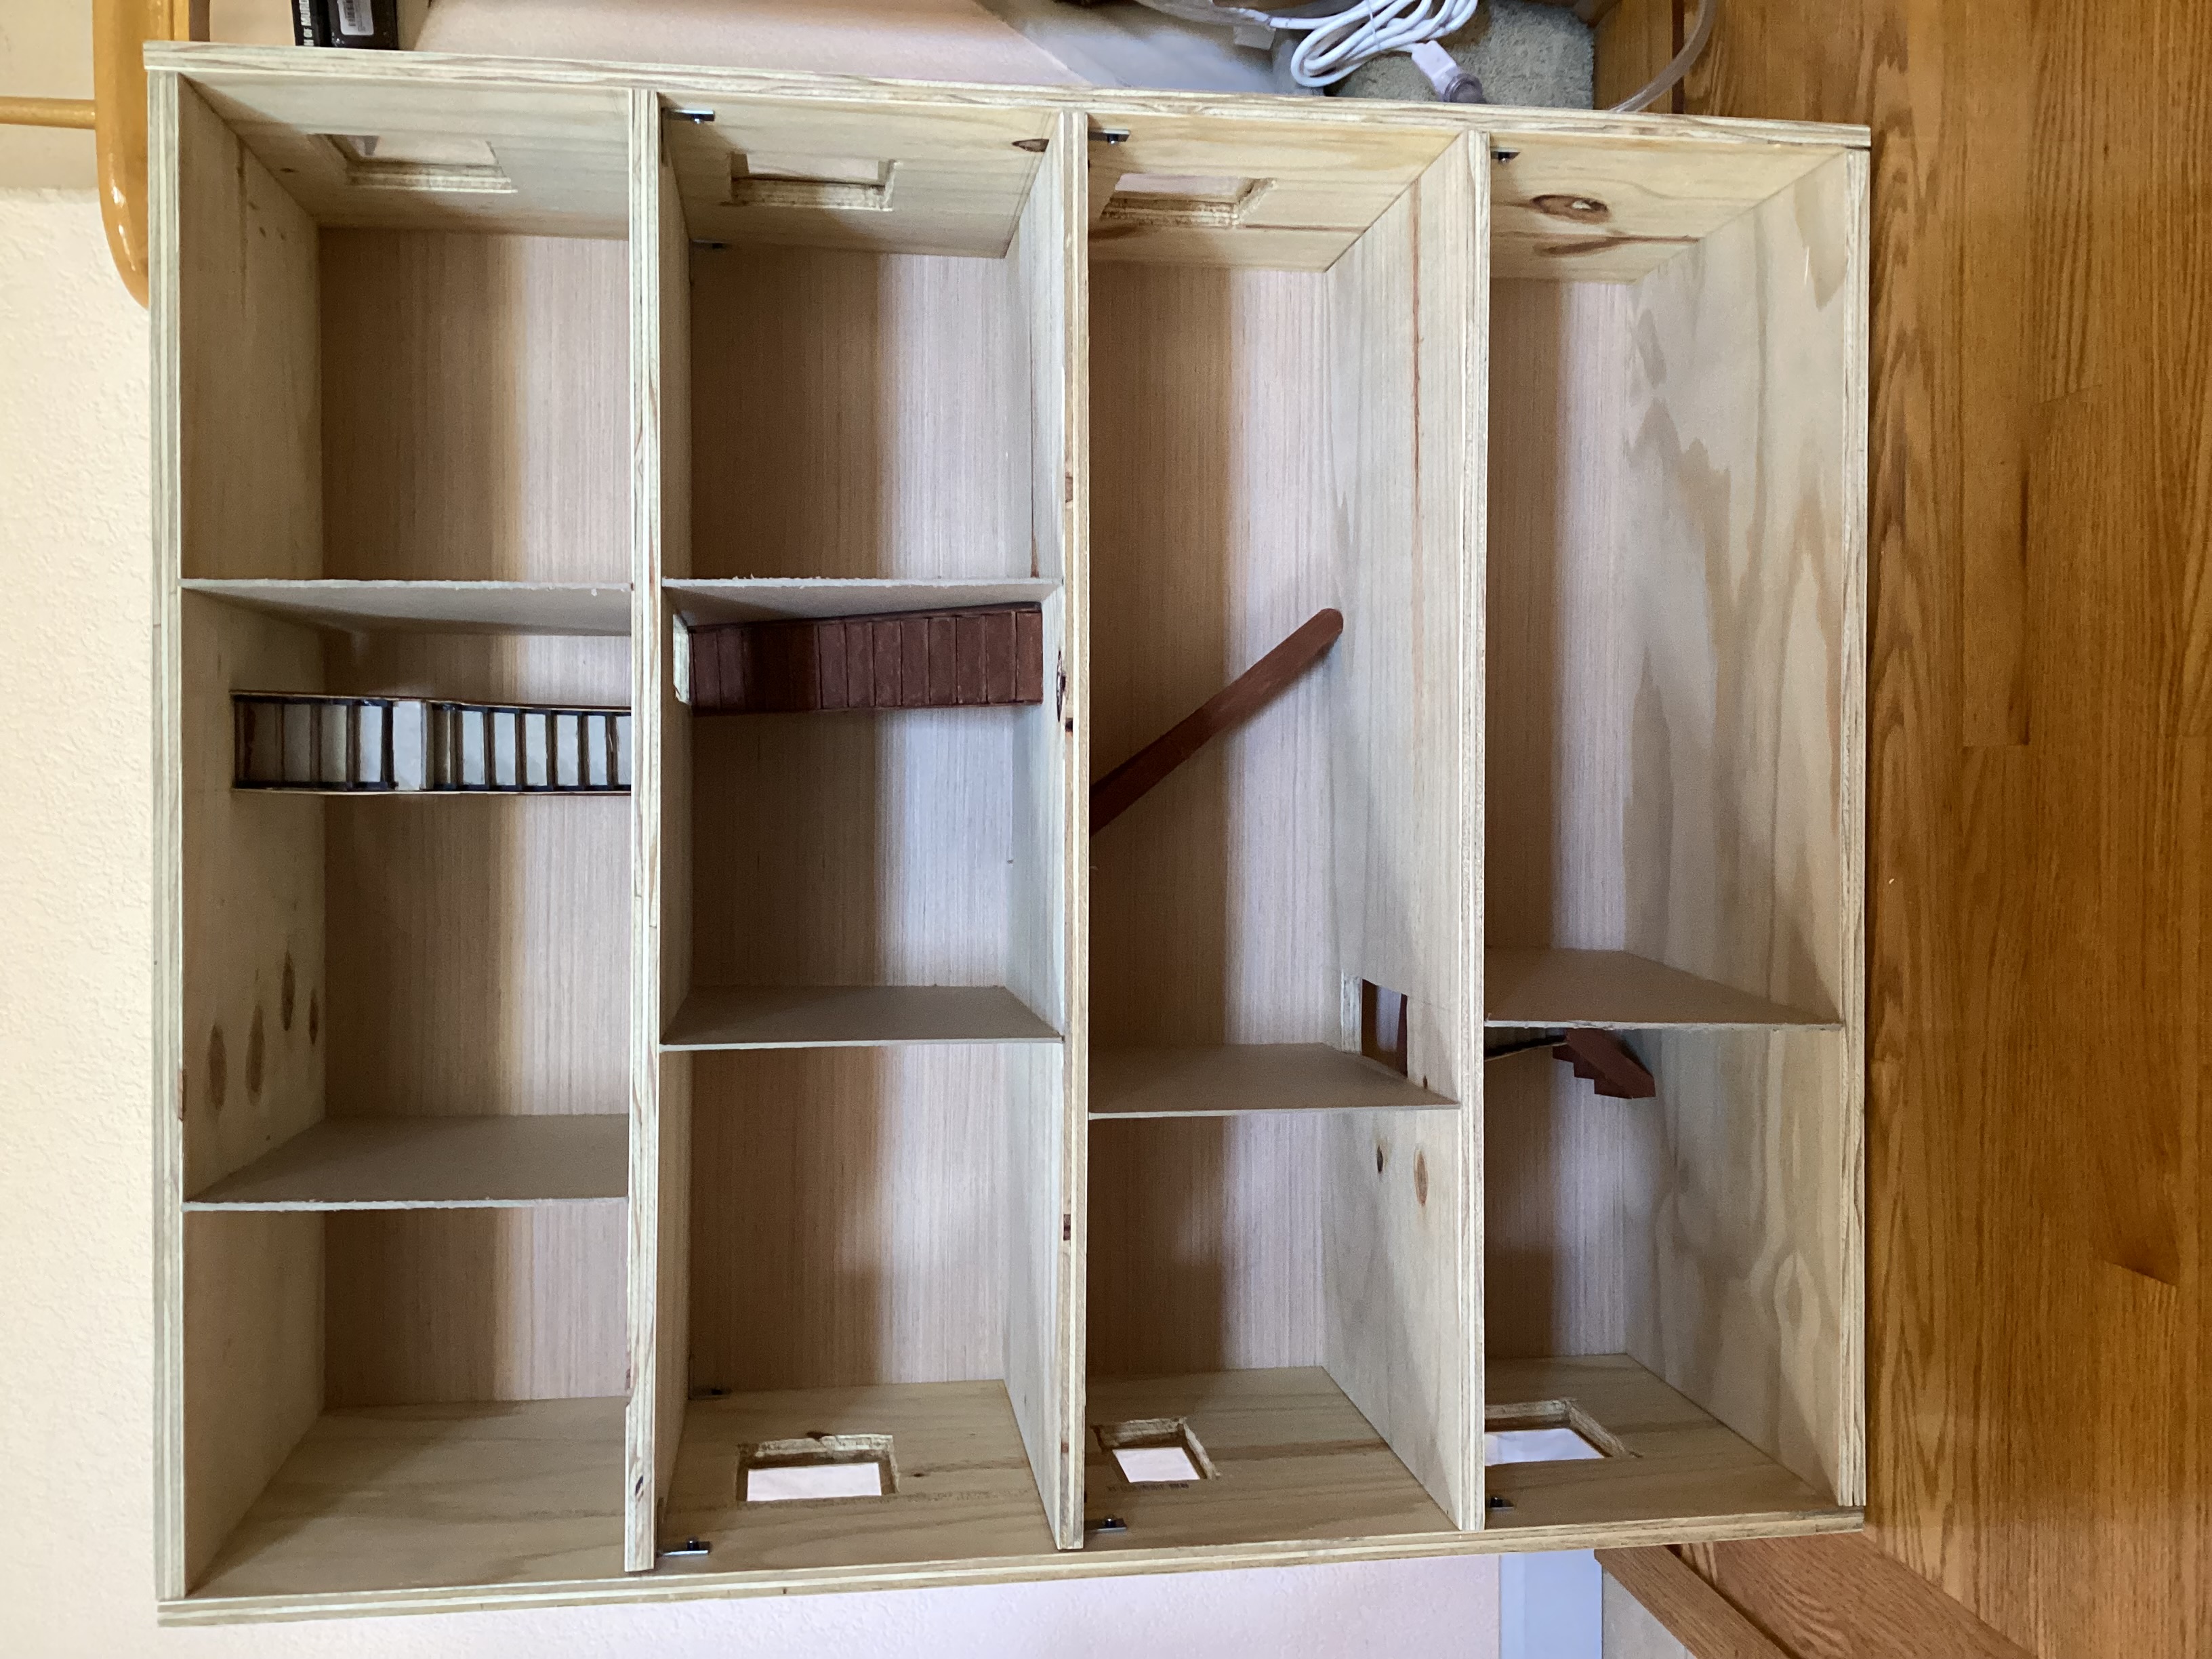
Once the shelves were in, I could test the stairs! Which . . . didn’t fit. Well, I had used a drywall saw on plywood. Why would I assume my younger self had a solid plan? I had used a blueprint my younger self had provided, but it was for the original plan, which had each story as 9" tall. You might notice in the blueprint shared earlier, it does not account for the thickness of the interior floors. There is 36 inches total, but only 32 1/4" for the rooms, making the height a bit over 8". When I bought the wood and realized my mistake, I ended up modifying each story to only be 8" and had not made a note anywhere or gone back and edited the stair plans. Luckily, I was able to cut the top few stairs off and it was the right height. The corner stairs were a bit trickier because its position cared about its horizontal length, but I was able to add a landing at the top that looks purposeful. Serves me right for trusting a plan that looks like this.
My next step was to add a backing. I wanted it to be thin, but still provide some support, so I opted for a 5mm thickness. The only size they sold big enough to cover the back in one piece was 4" by 8", so I had to cut it down. I nailed it to the frame and it ended up looking really pretty.
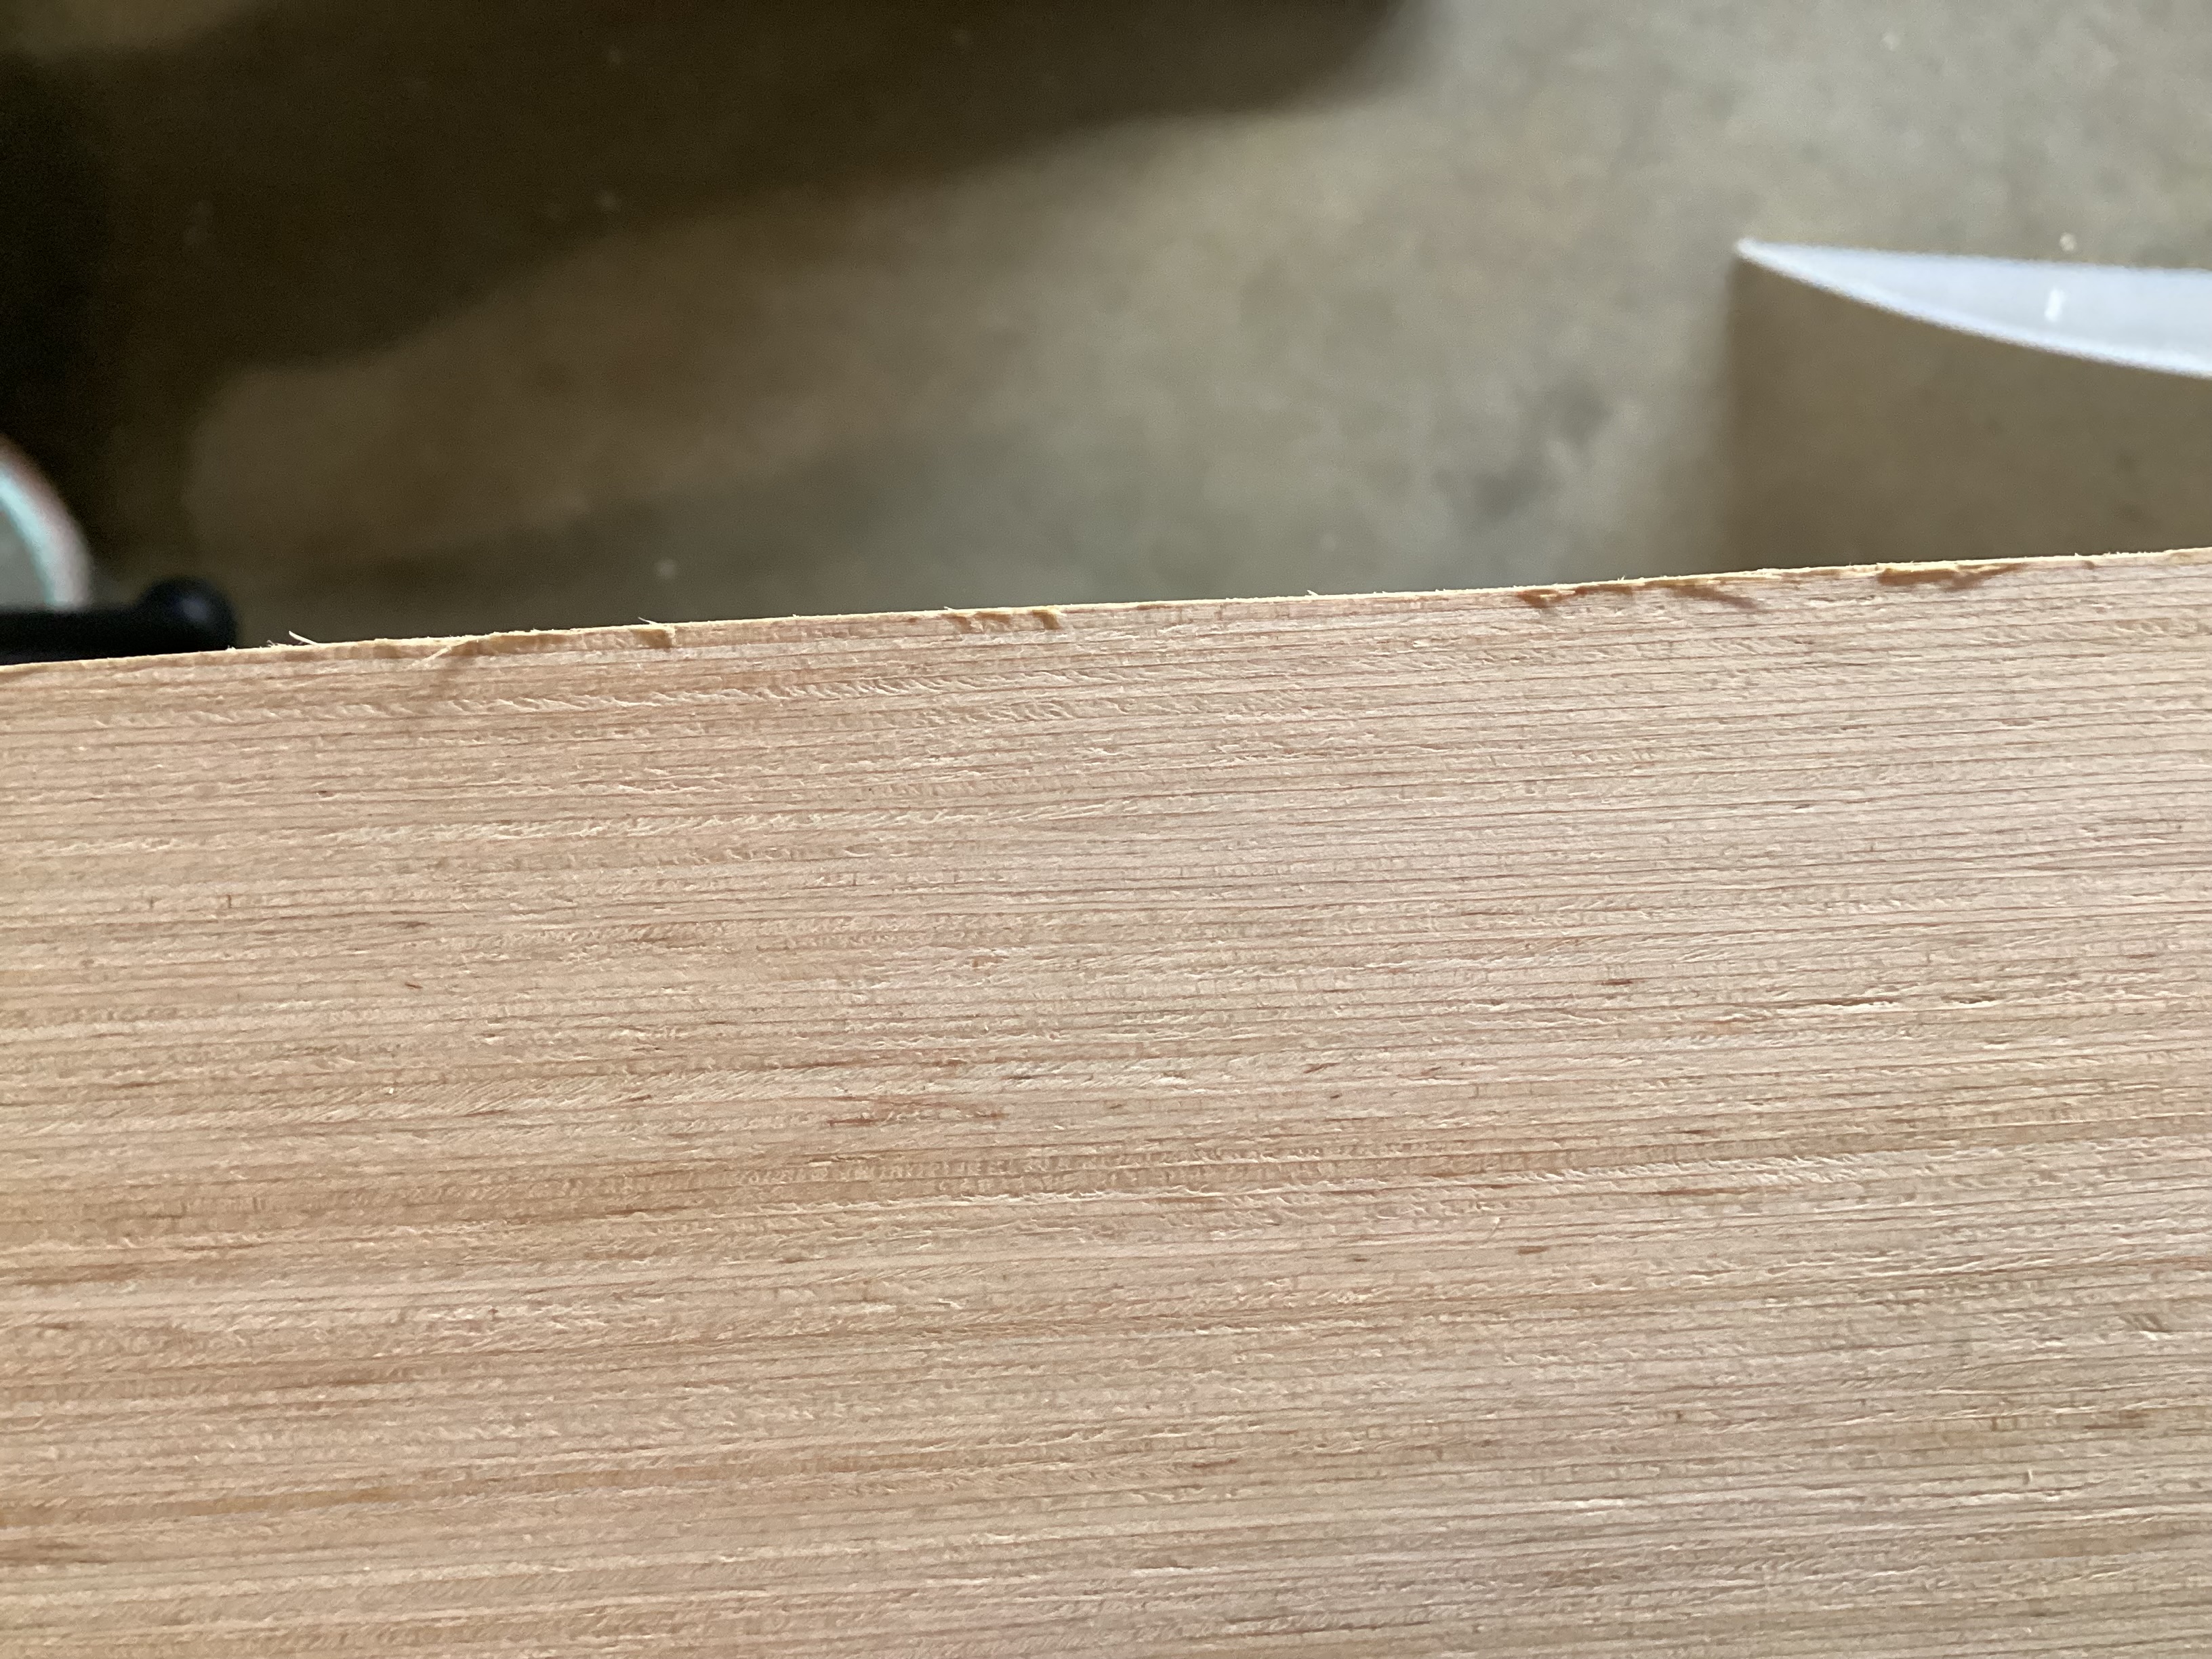
I borrowed a Japanese saw to cut the board and fell in love. It was so smooth! I know only a poor craftsman blames his tools, but look at how nice the cuts become when using the right tools. I suppose I was a poor craftsman for not knowing what the right tools were.
Speaking of those holes, I needed something to cover up my past mistakes, so I set to work on window frames. I beveled craft popsicle sticks and glued them together to create a thick frame that would cover my rough cuts. My first attempt did not look good because I was using hot glue and the bondline was too thick. I looked around for alternatives and settled on tacky glue, which looks much nicer with the frames. If I end up redoing the staircases, I plan to use this glue as that would reduce the peculiarities of the sets I made.
I painted the stairs and frames to fill in the gaps and make them look a bit less like cardboard and popsicle sticks. I used half of a page protector as the glass for the window frames.
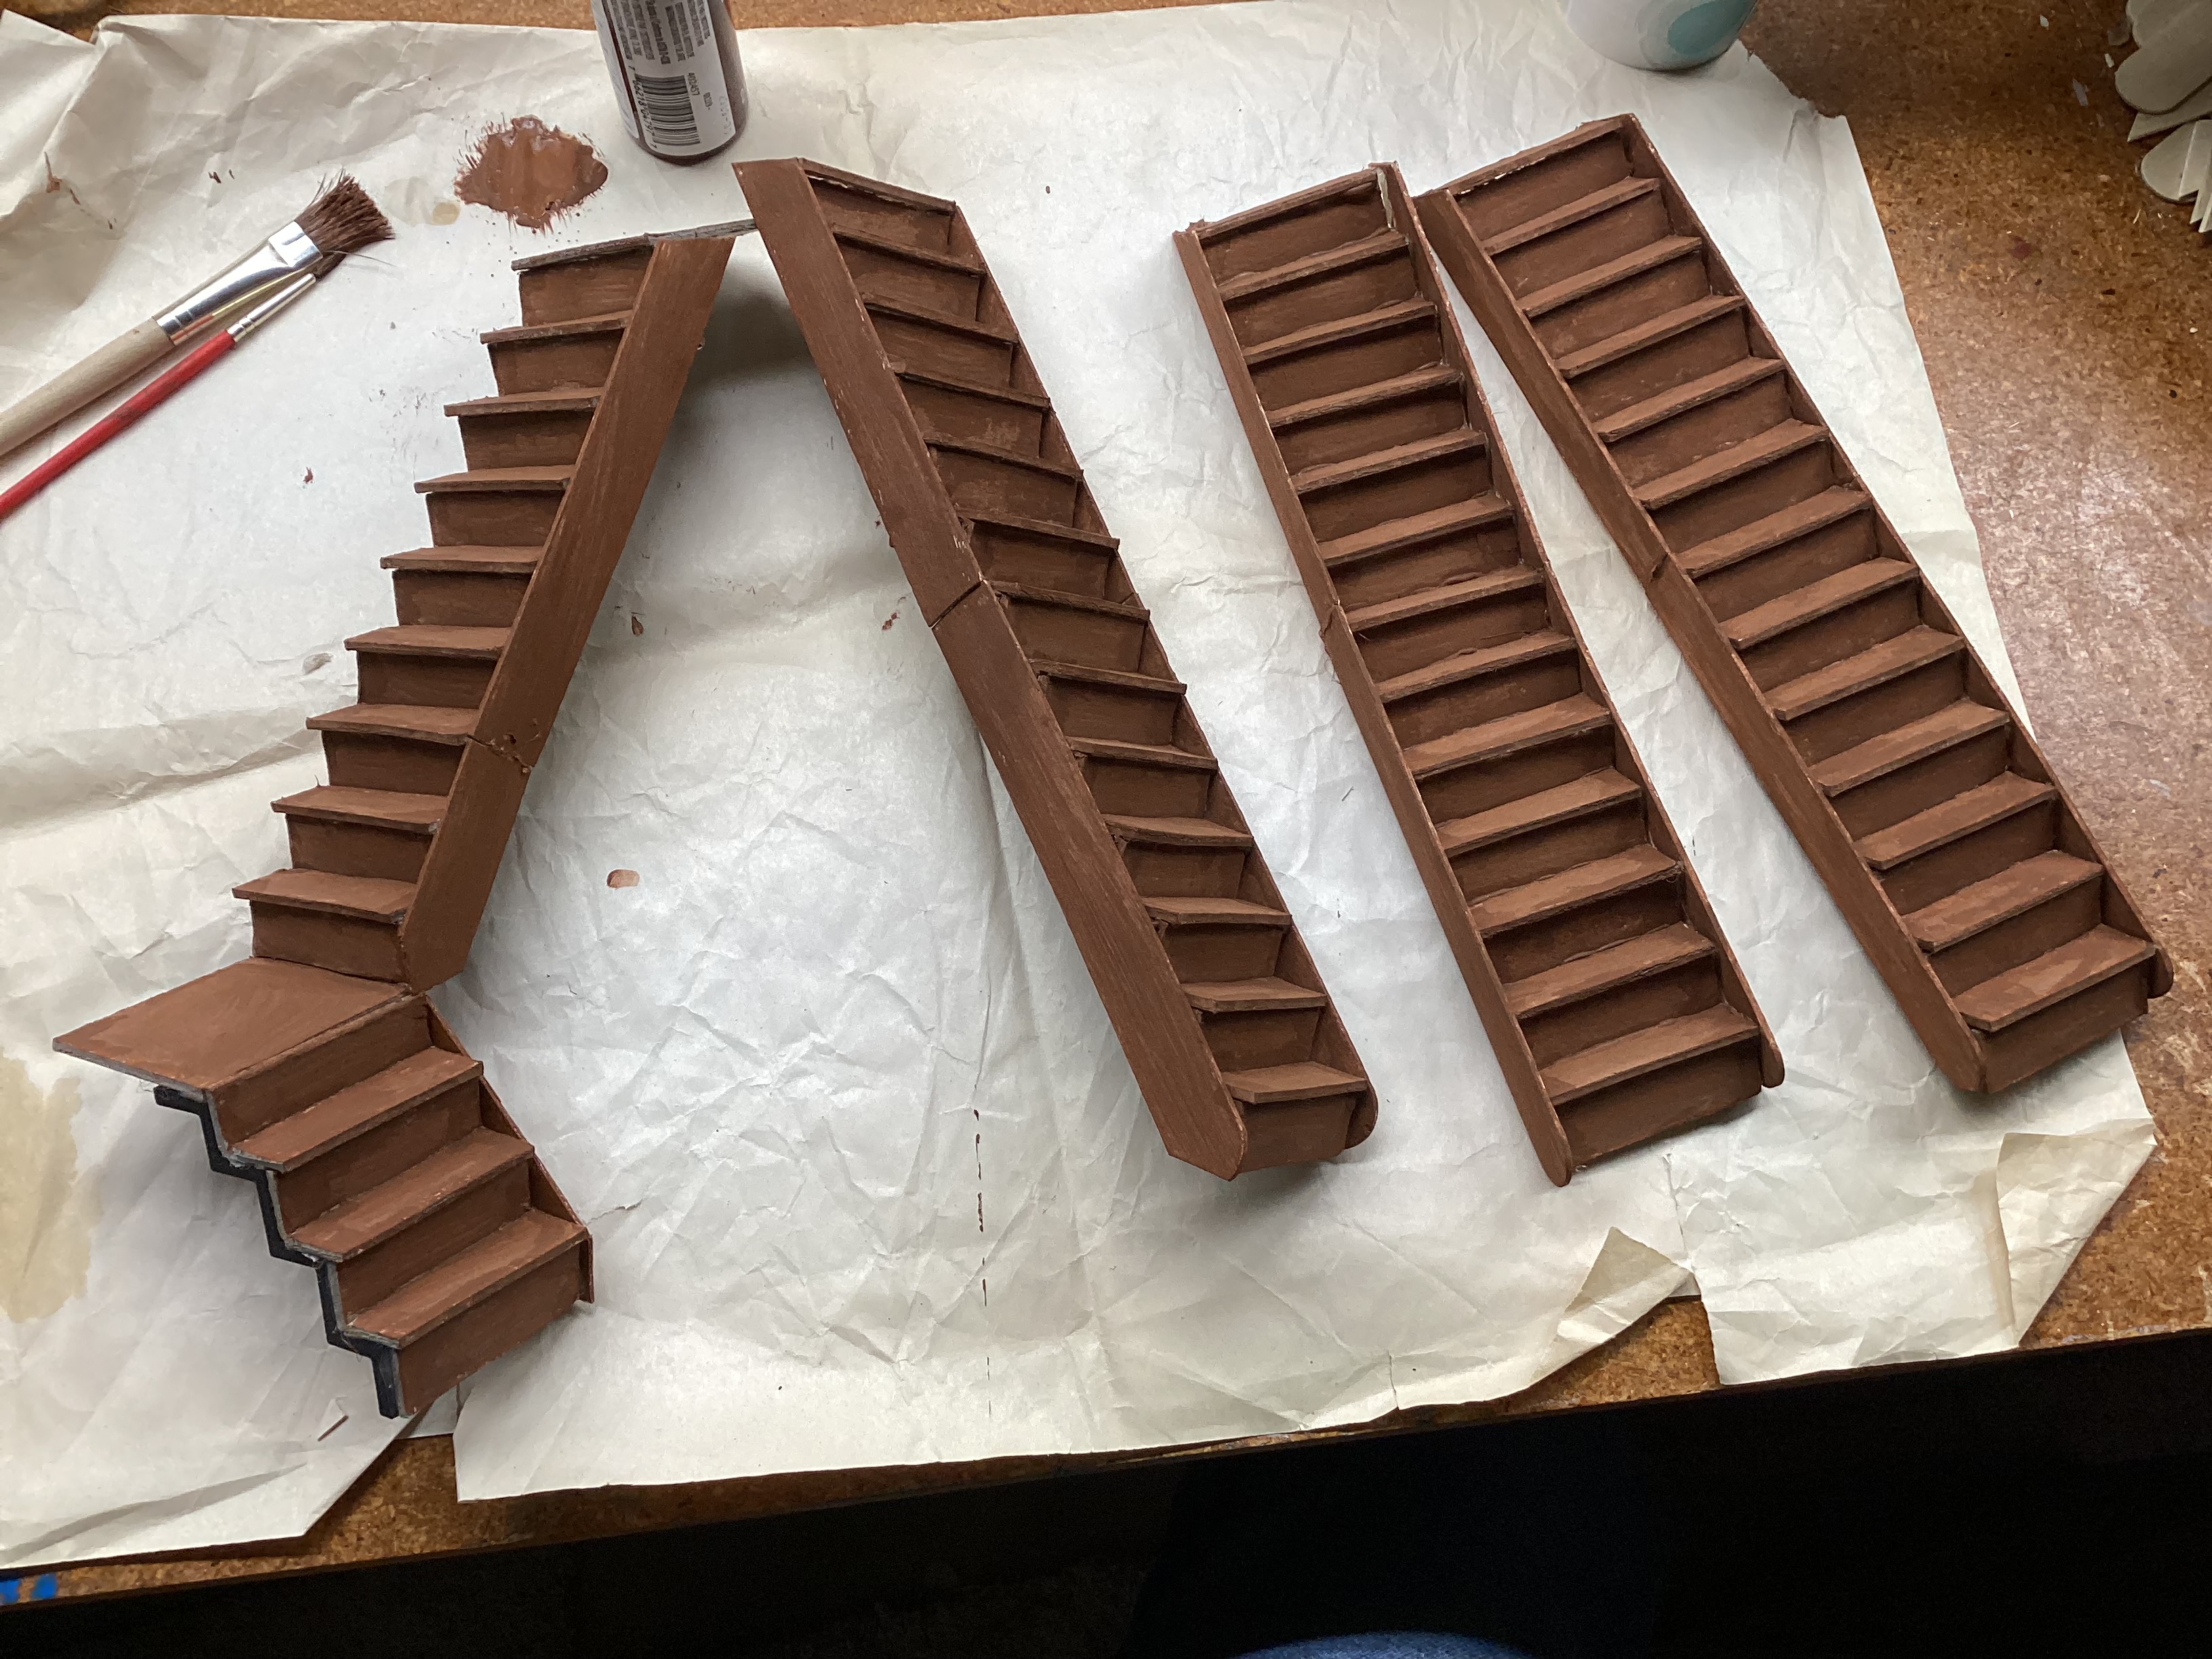
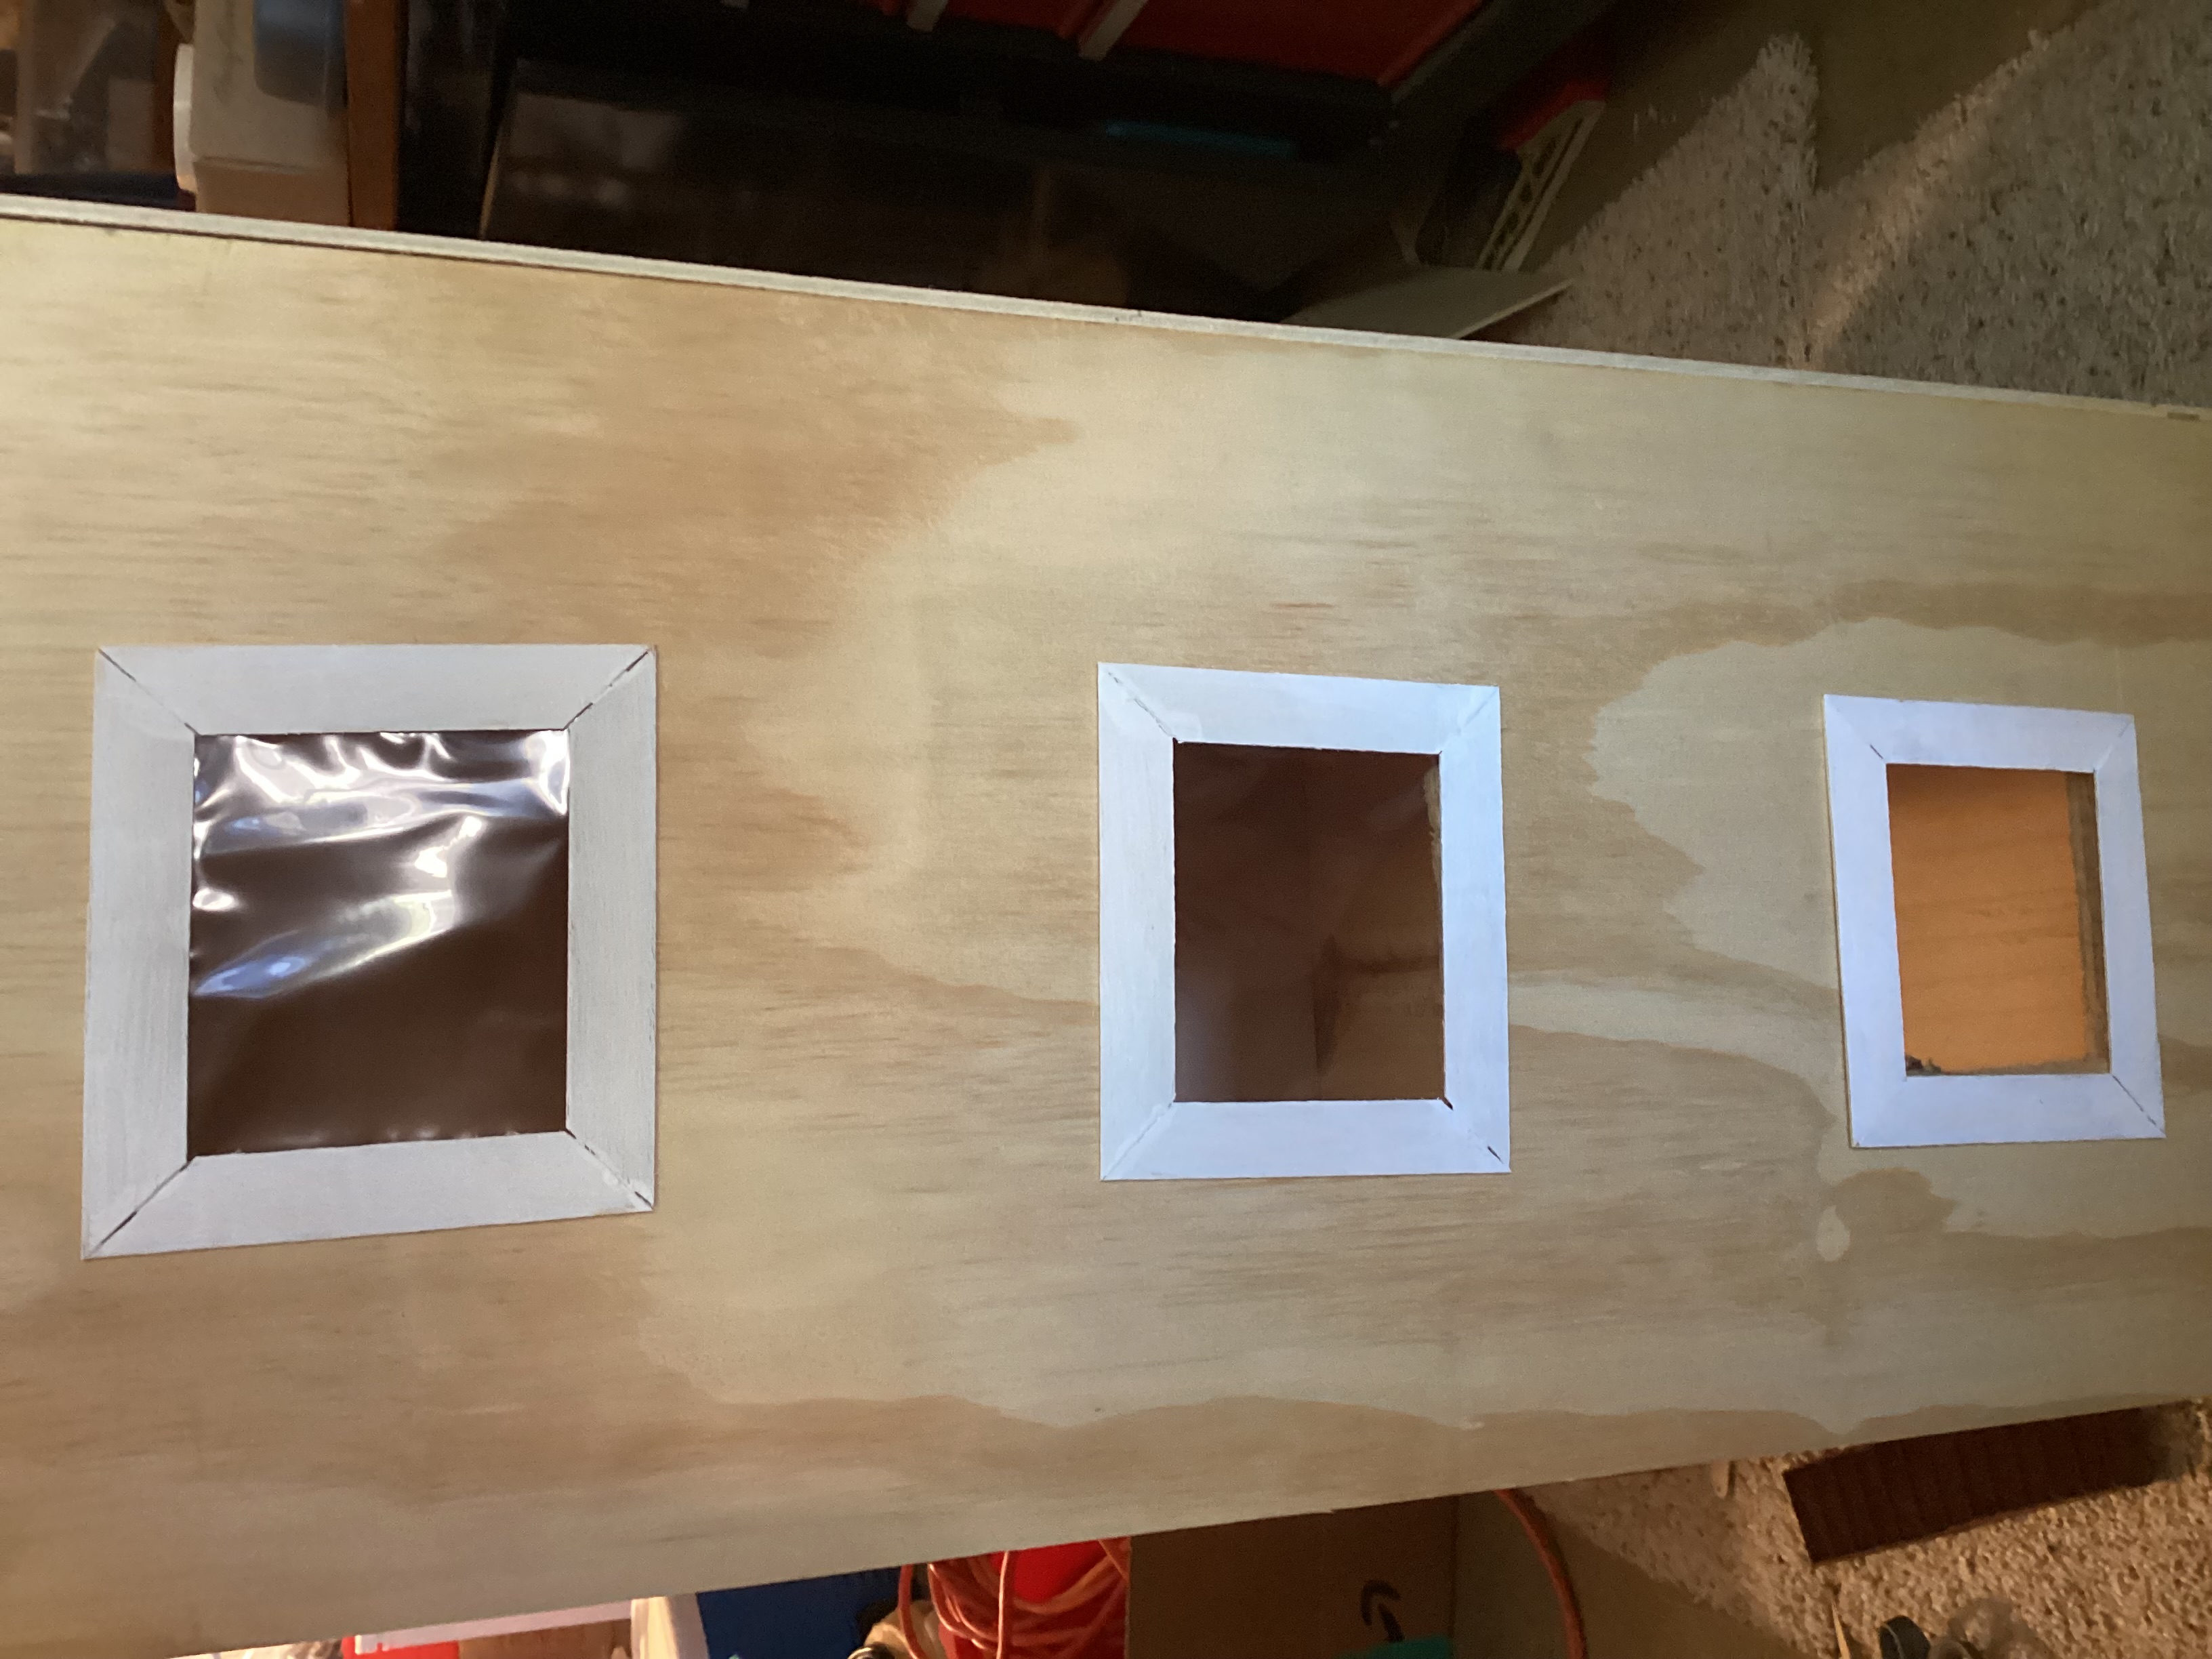
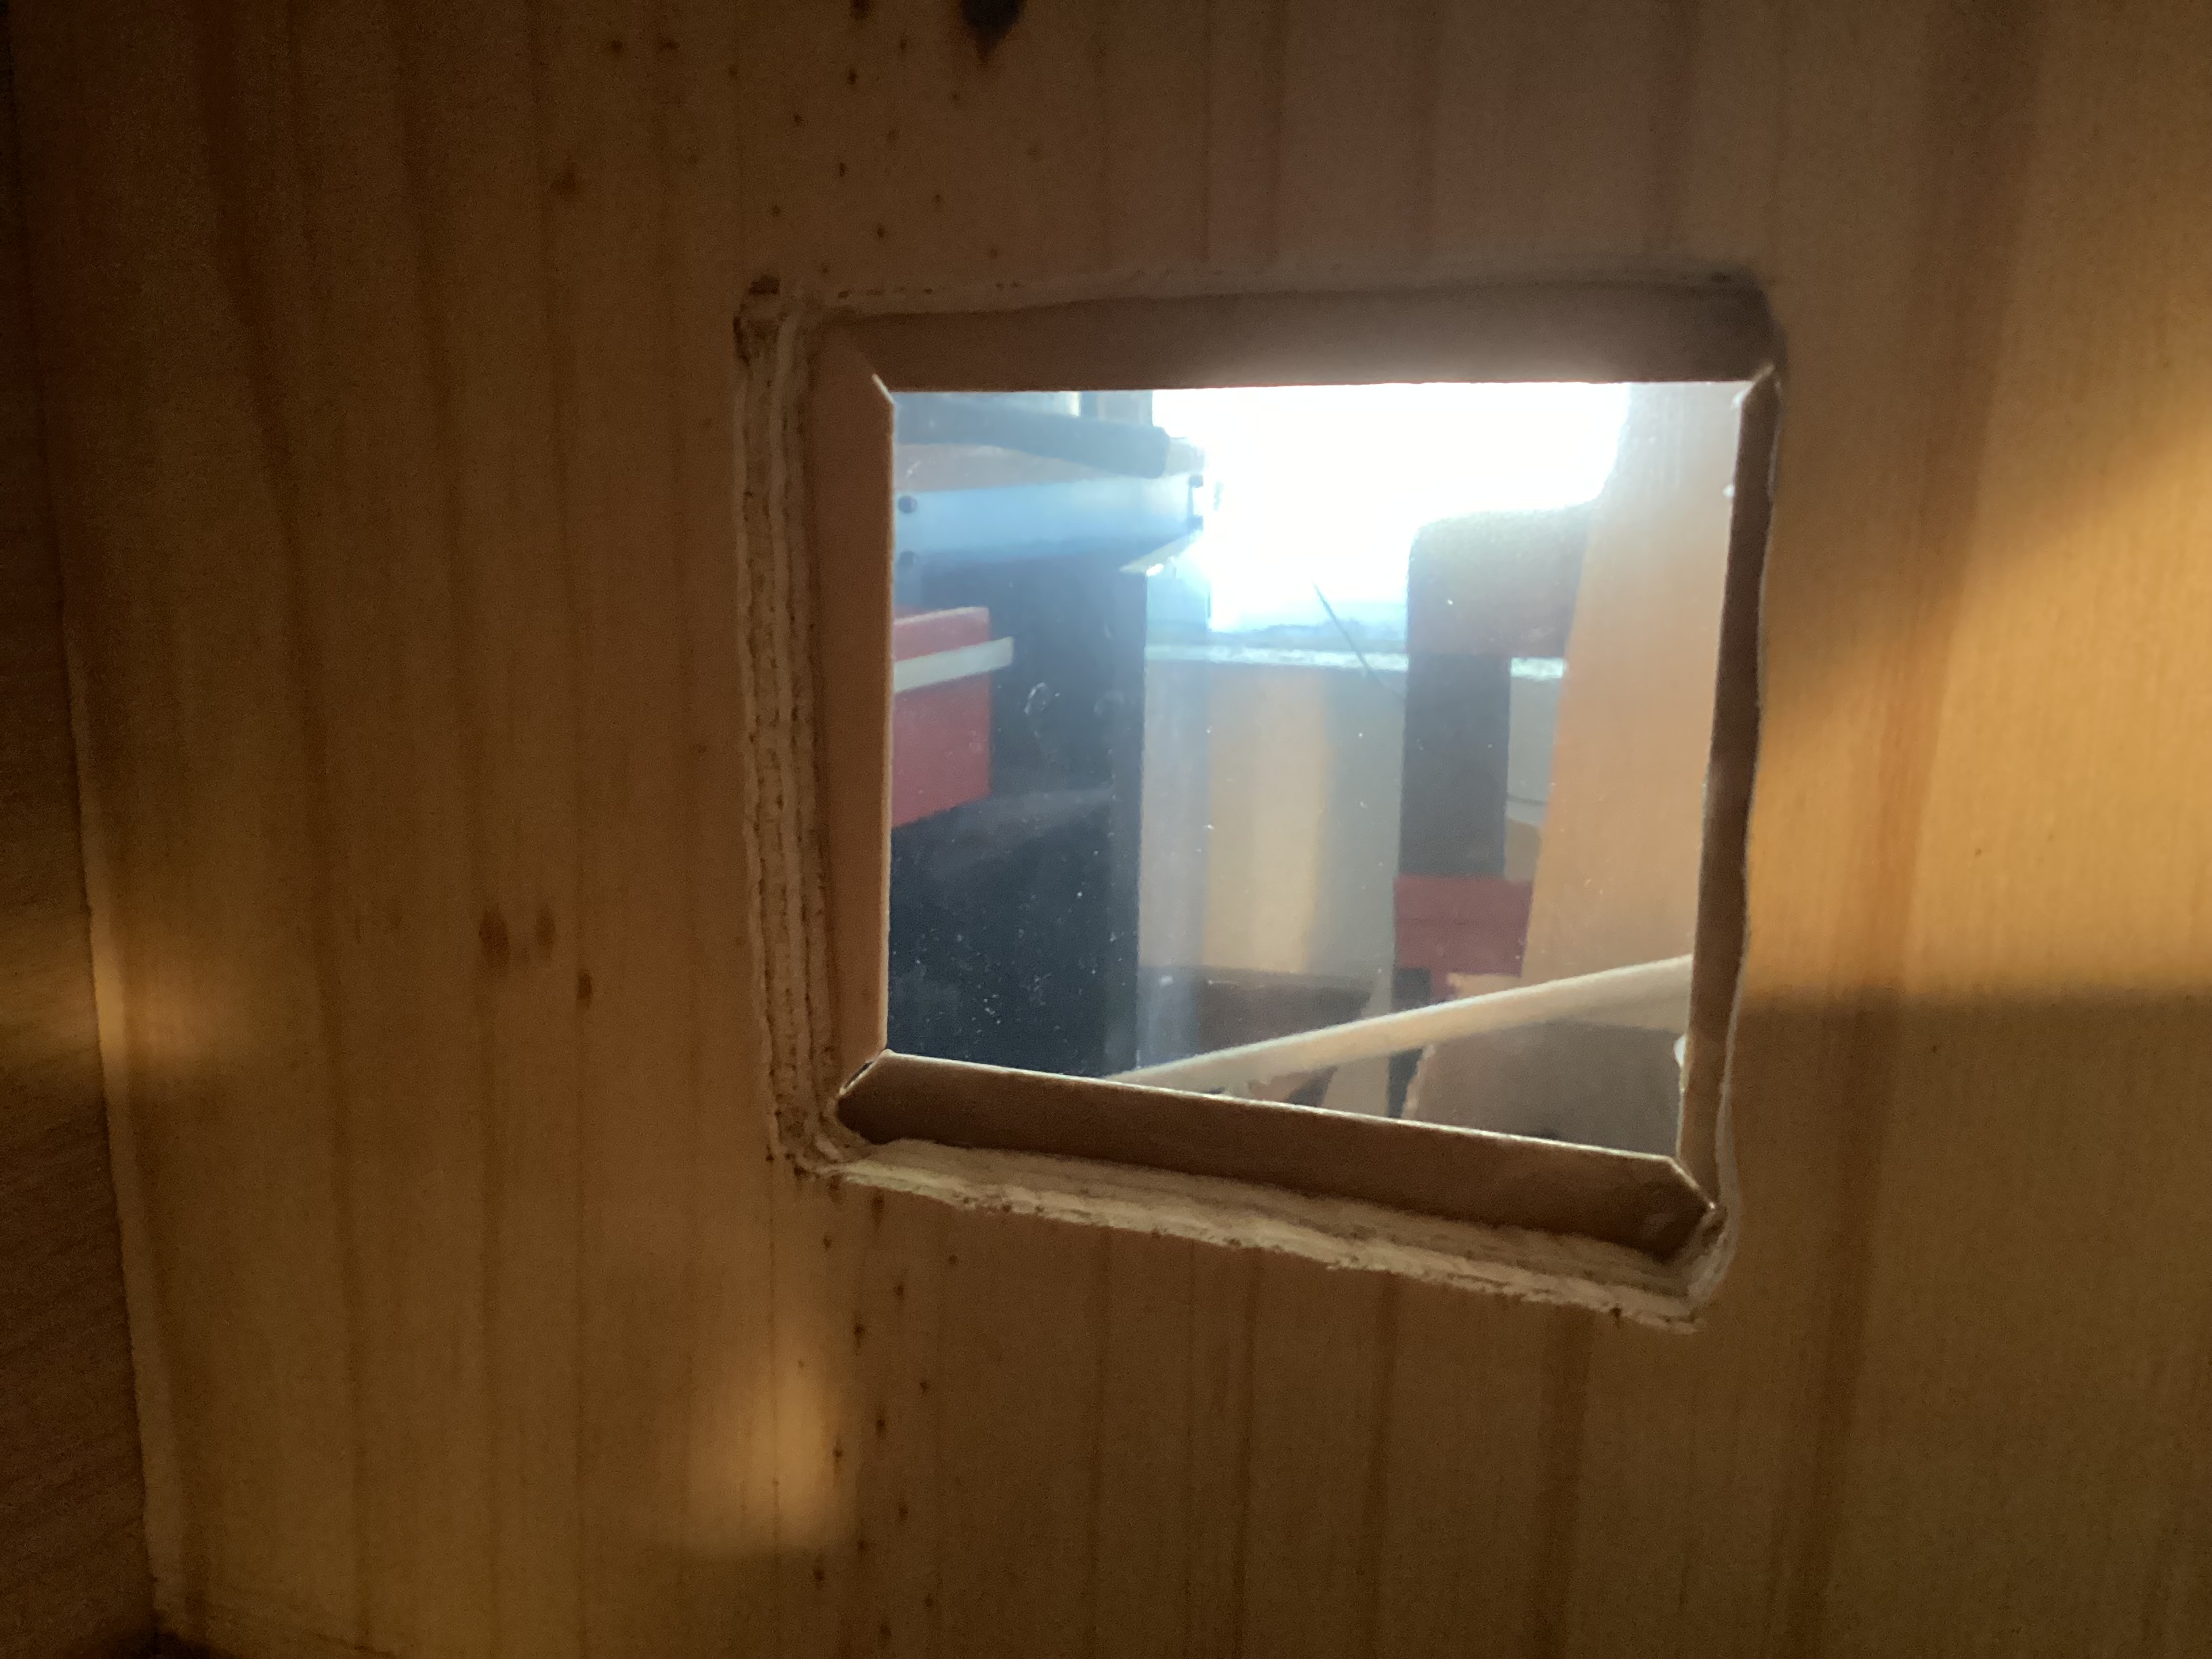
The frames worked well to cover up the poor cuts. I still have to work on a solution for the inside, but it should be easier to cover as I plan to use wallpaper.
I added the stairs at this time, still using the tacky glue. The clamps didn’t fit so I had to get a bit creative. The stairs held the weight of the iron clamp well, which was nice to see though they shouldn’t need to hold any weight but their own.
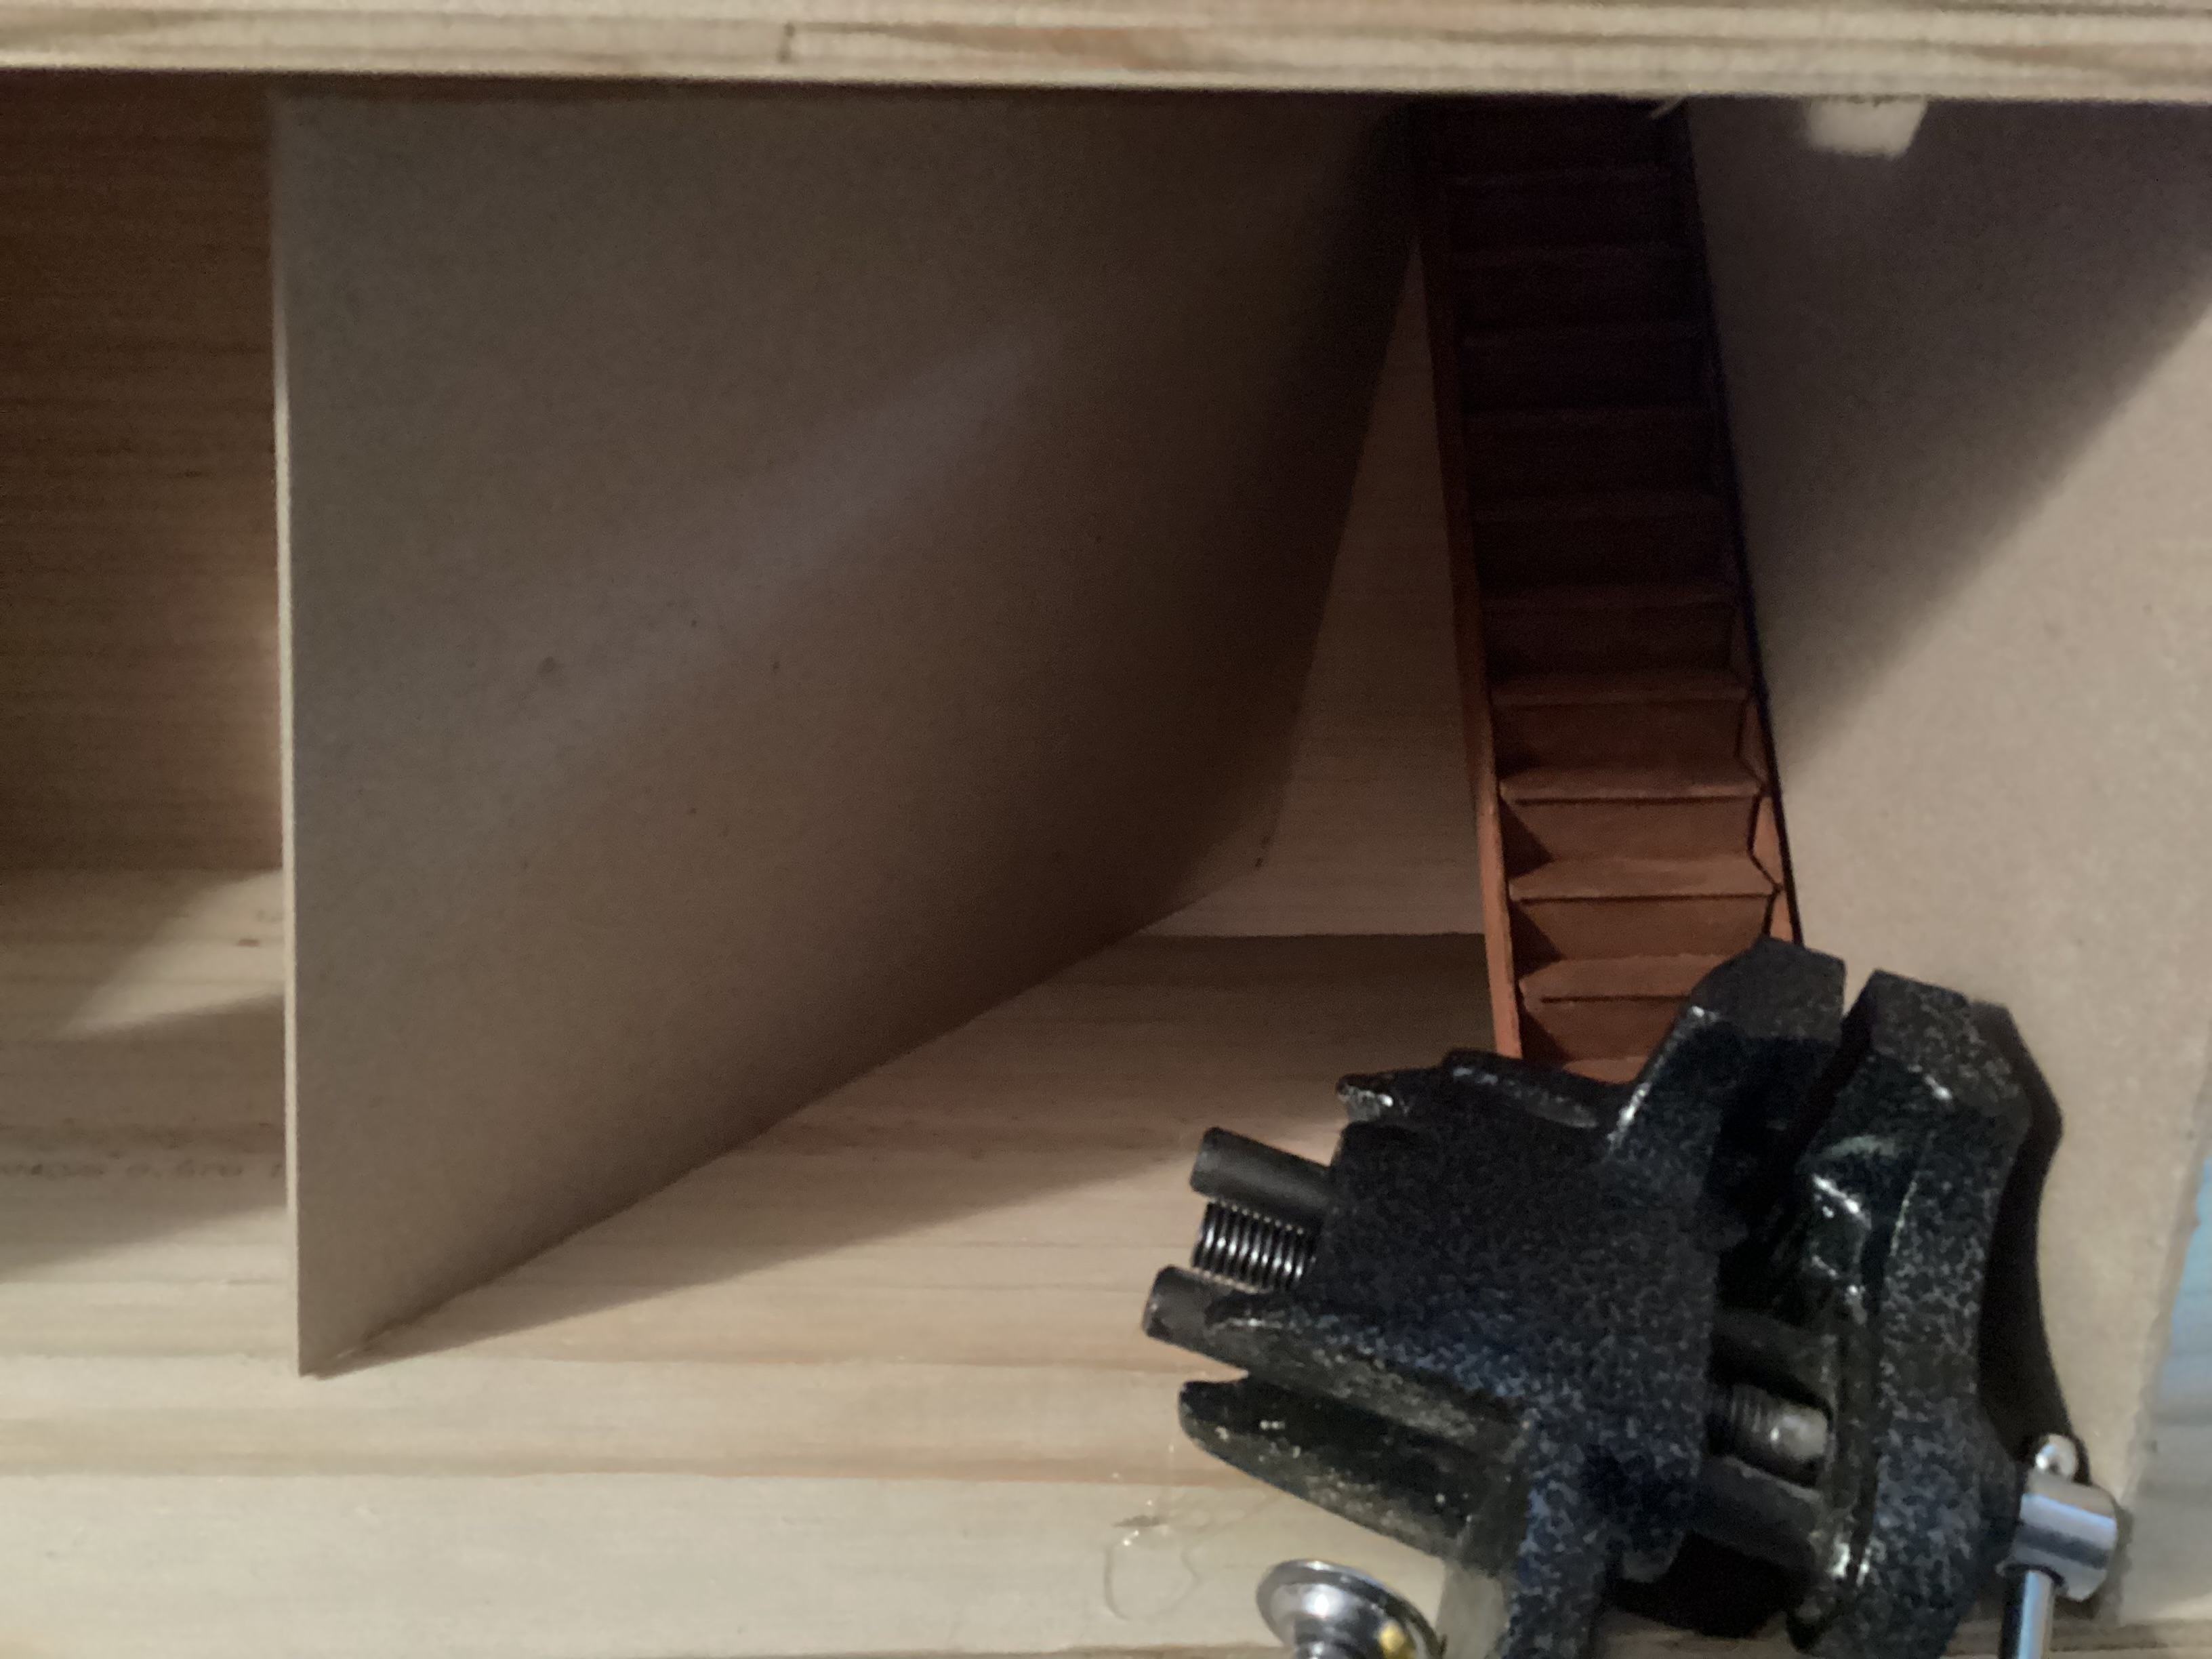
I found some scrap hardboard and cut a few pieces to act as interior walls. They are friction fit for now, since I want to be able to remove them to add doorways later on. I had finished all the sawing I needed to do for the main structure, so I did some sanding, wiped the house down, added felt pads to the bottom, and moved it indoors.
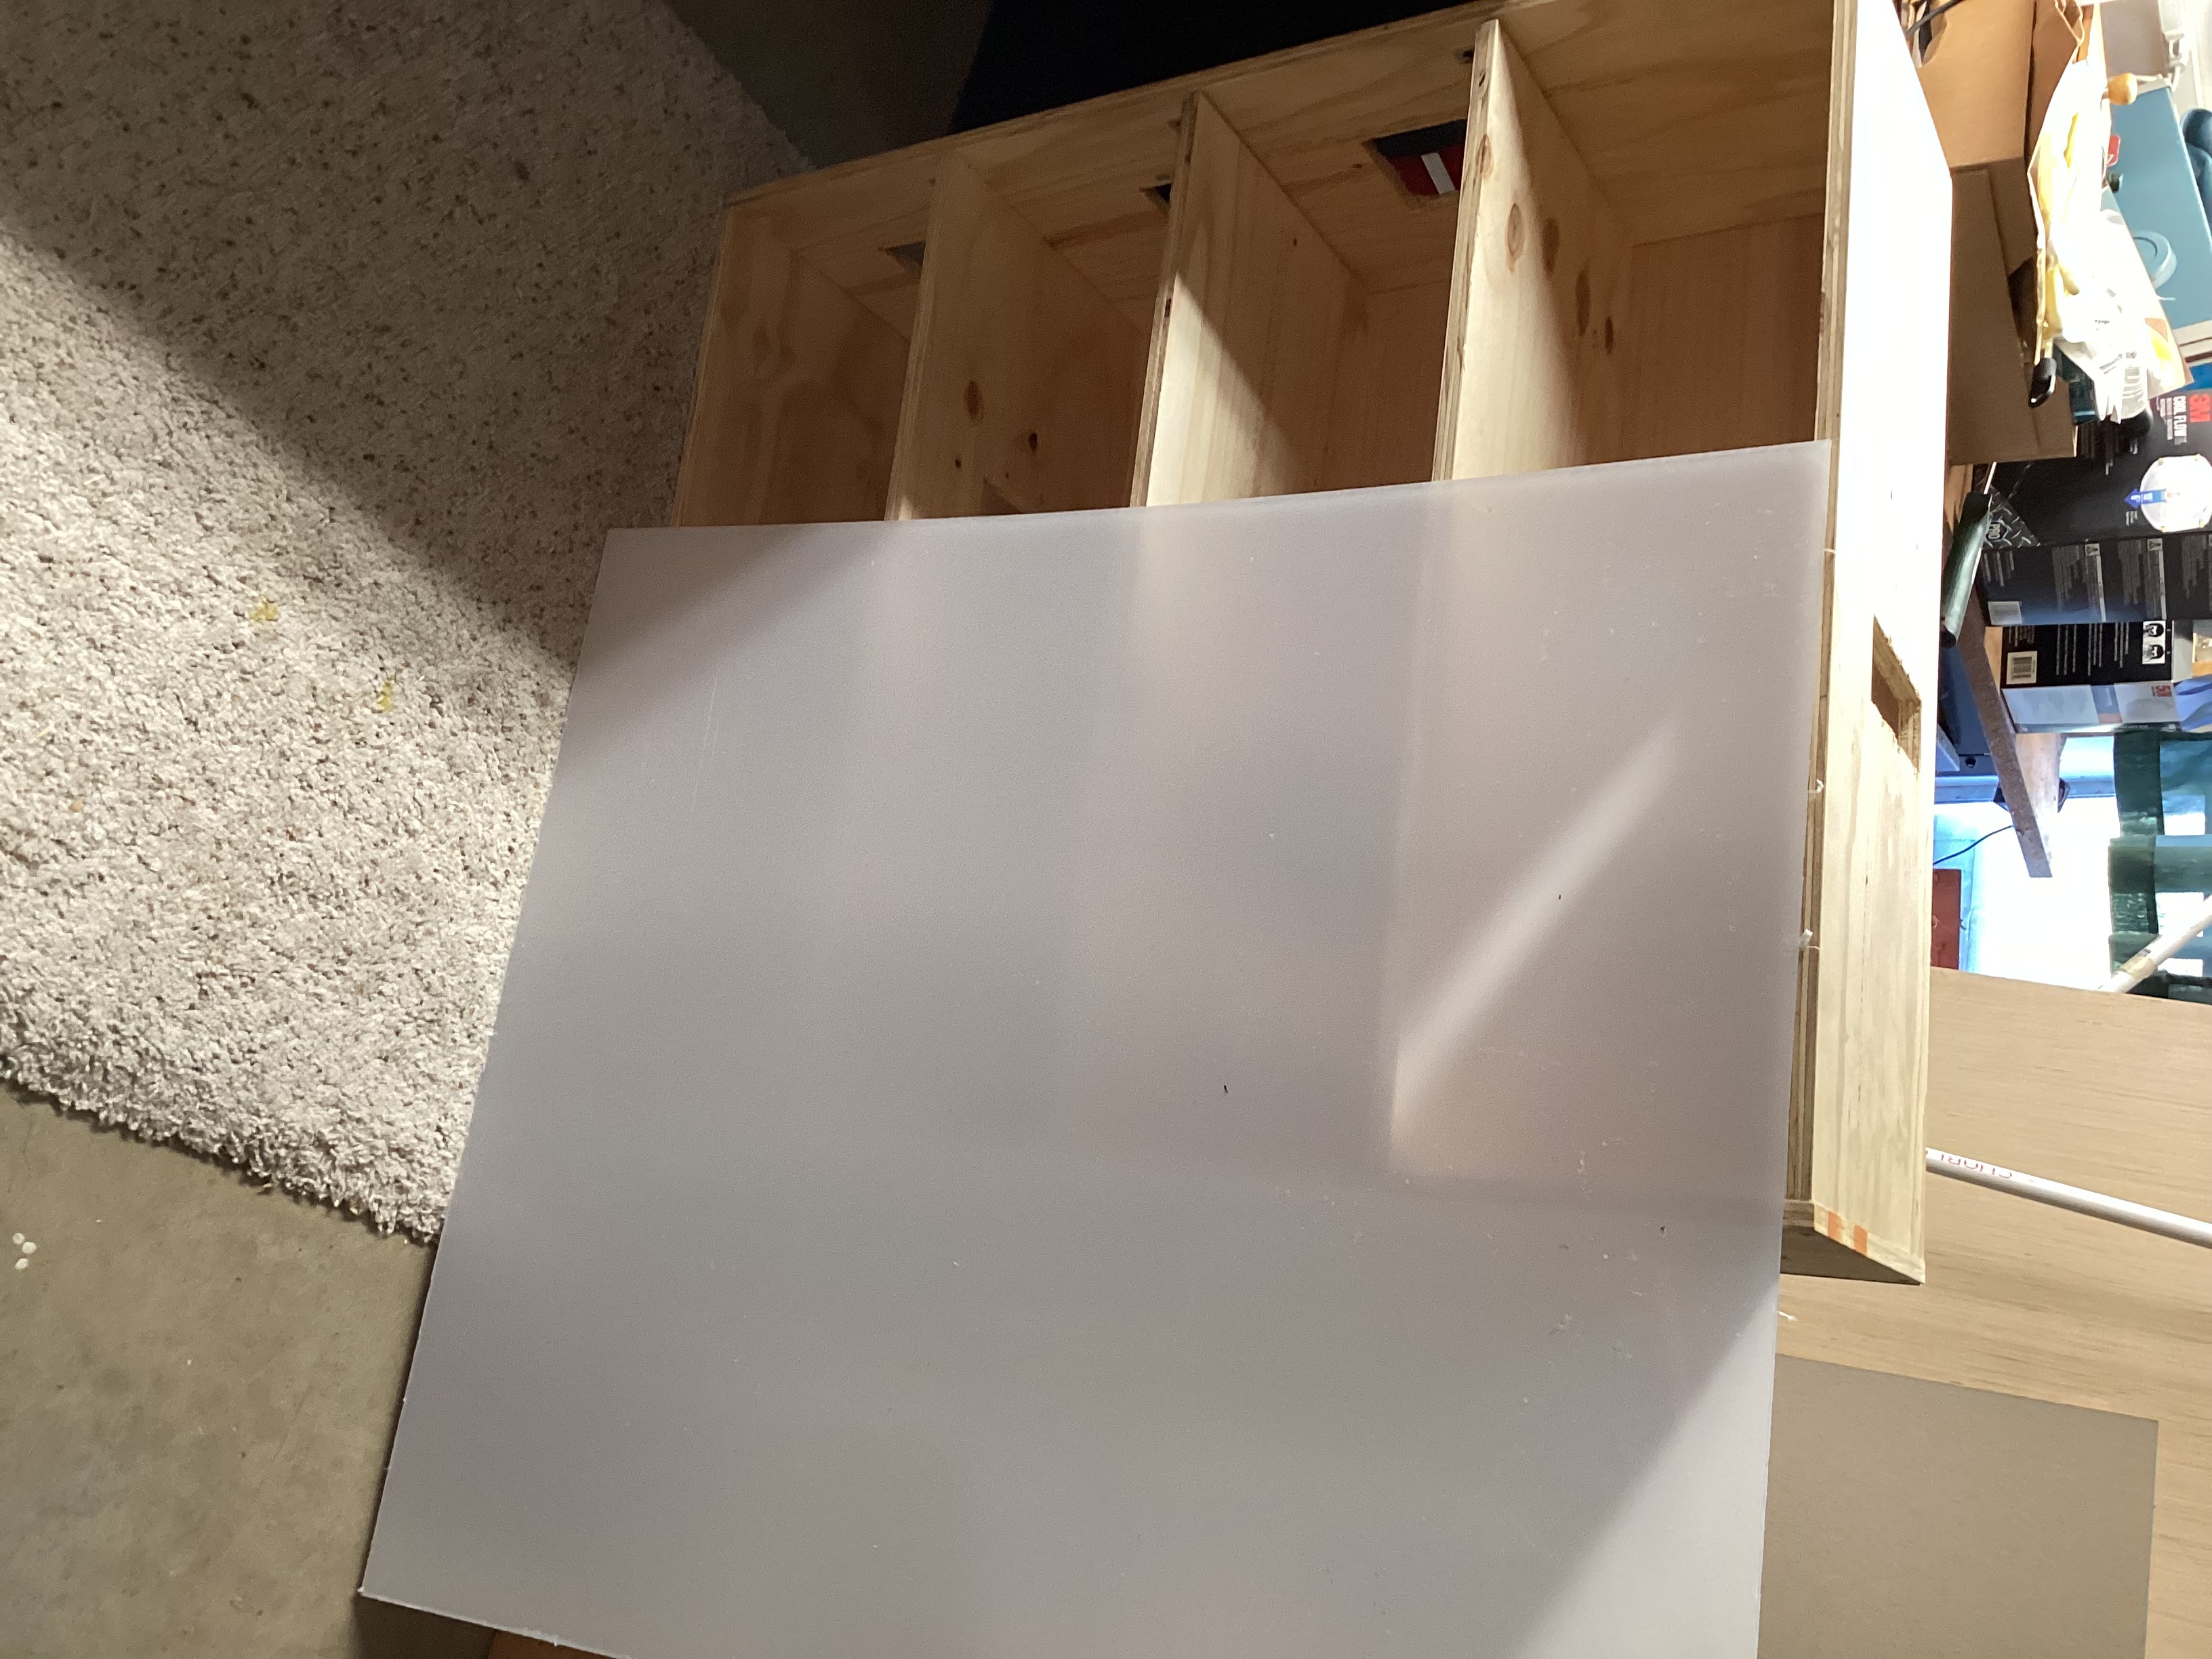
The last step for the main structure was to give it a front. I want to protect the furniture and don’t want to have to dust often, so this was a requirement. However, I wanted the house to be an art piece and was not satisfied with covering it with a door made of the same material as the back. Ideally, I wanted a display case, but I wasn’t sure where I would find one. I had seen a plastic store in a local shopping center that seemed like a good place to start, though I assumed they only did bulk orders for actual businesses. Luckily, I was wrong and I got a thin acrylic sheet cut to size within ten minutes of being there.
I decided to use magnets to secure it. I wanted something unobtrusive and that I could cover with a wooden frame later on. I got a dozen rectangular ones and put them up along the edges. The felt pads I had added raised the dollhouse up an eight inch so while the magnets were enough to keep the acrylic upright, they were not enough to keep the sheet from sliding down that little bit. I ended up getting some thin popsicle sticks and stuck them to a felt pad sticking out from under the dollhouse to give some extra support. It’s a thrown together solution, but quite sturdy and blends in well.
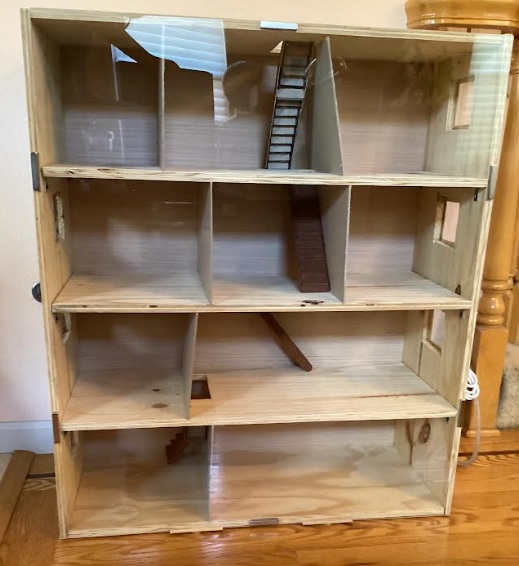
I think the whole case is quite beautiful. I was planning on adding a wooden frame to cover the magnets, but I actually like their look. The only reason to add one is there is a thin gap between the house and frame where one of the magnet pairs is glued to the house, which might let too much dust in. I suppose I will come back in a few months and see how bad the dust problem actually is. For now, the main structure is complete and provides a great base for me to start on the roof and detailing the interior during my winter break.
Addendem: Someone in my family put up this little notice.
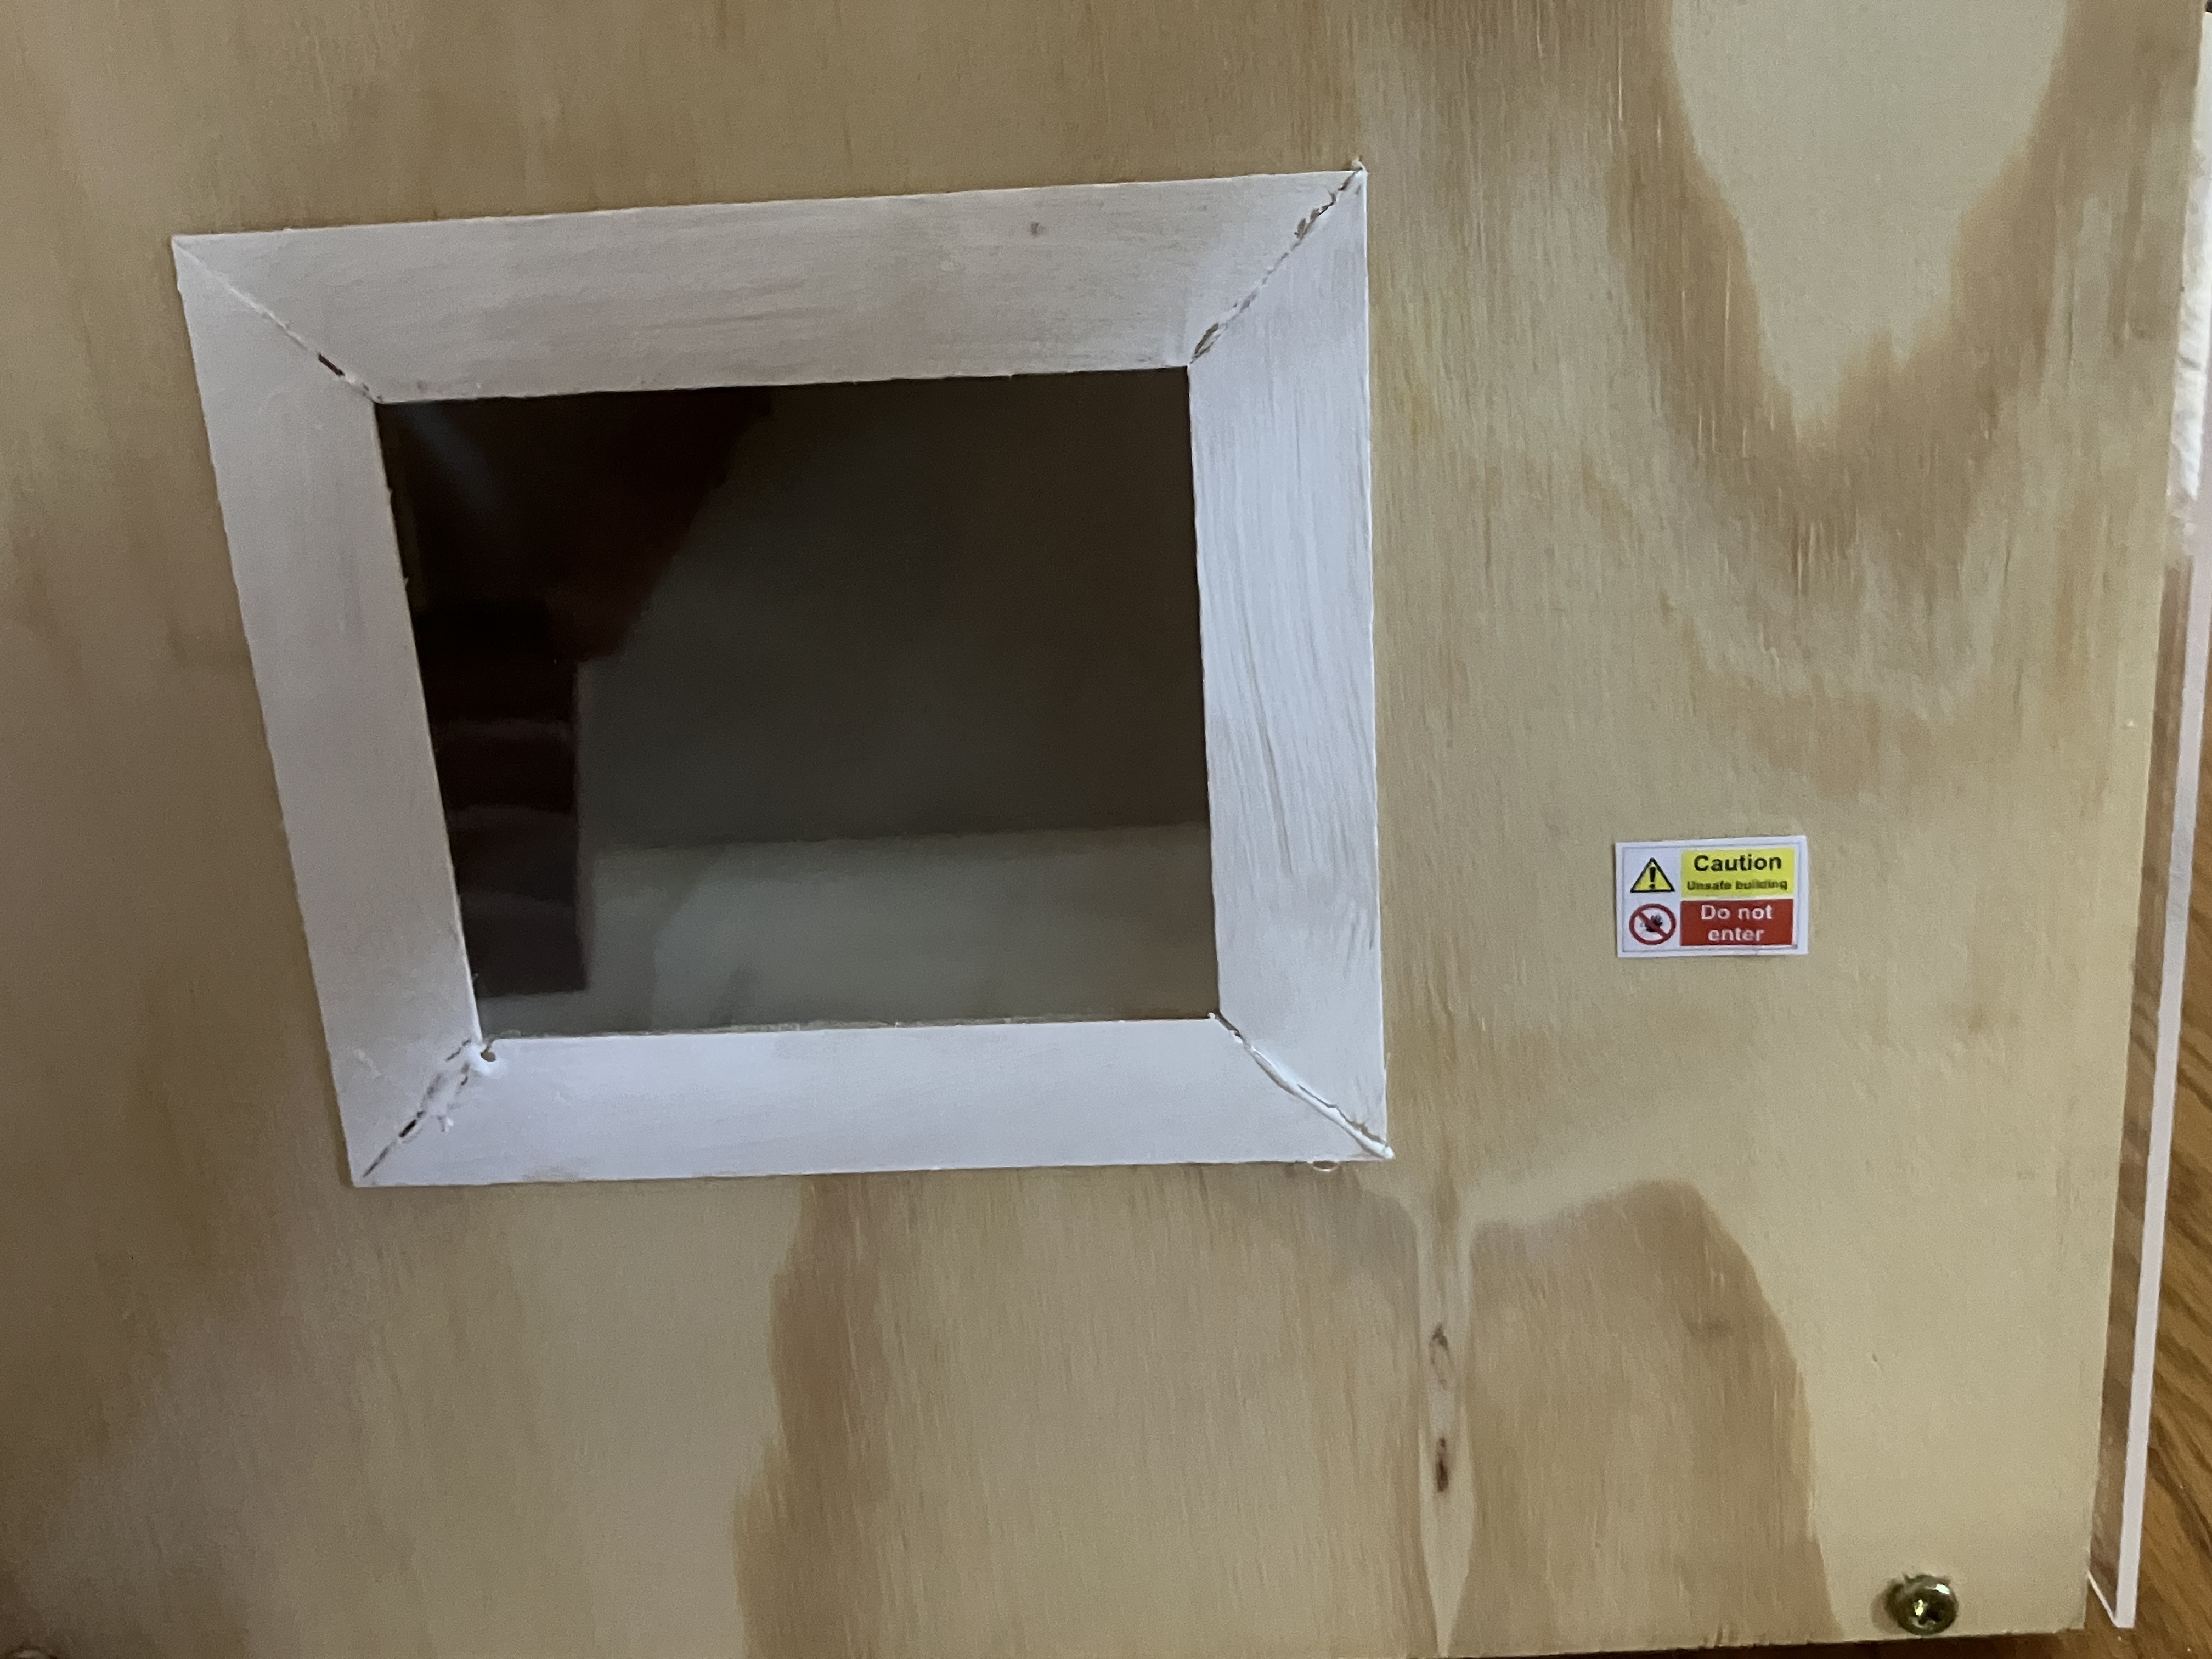
I guess the building inspector didn’t need a front door to condemn the place.